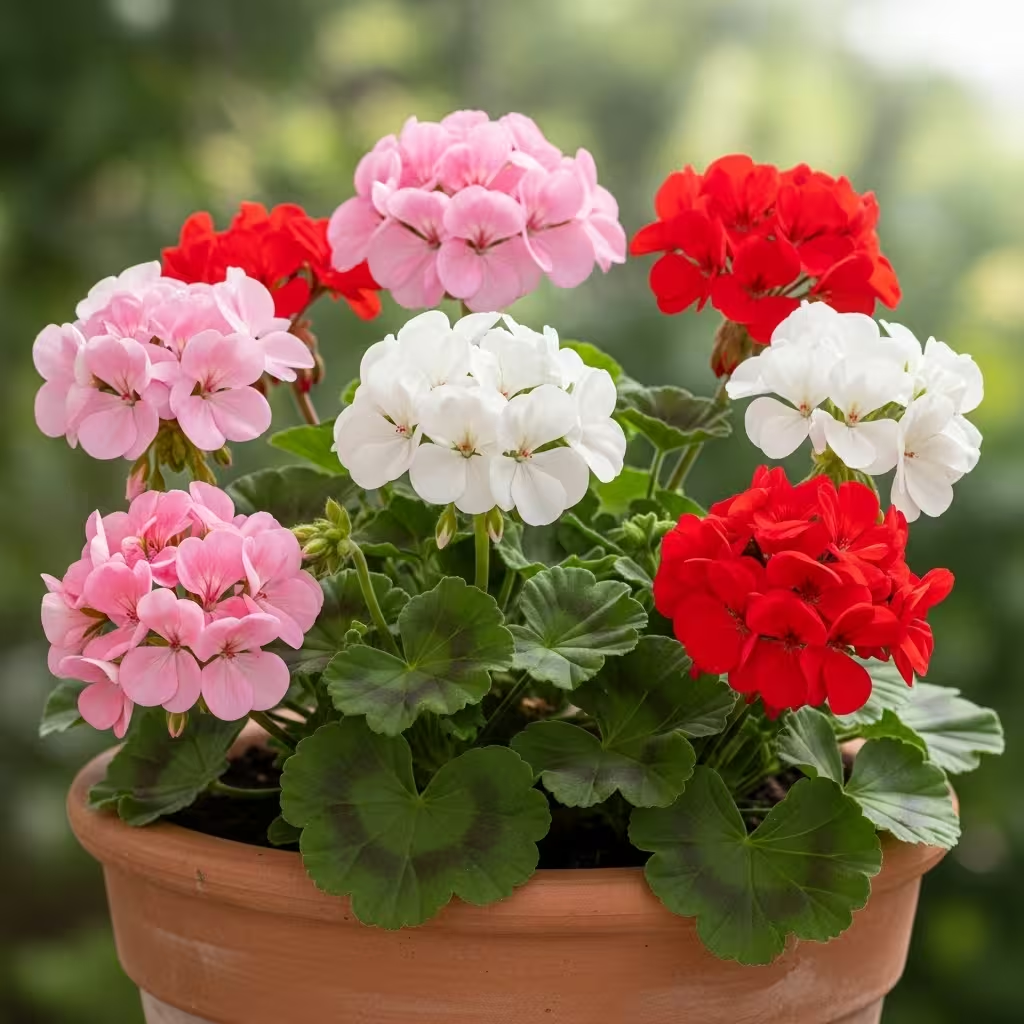
That wilted geranium sitting in the corner of your garden doesn’t have to meet its end in the compost bin. What if I told you that droopy plant could become the parent of dozens of vibrant new blooms? Through the magic of propagation, a single healthy cutting can transform into a spectacular flowering display that’ll make your neighbors green with envy.
The Magic Behind Geranium Propagation
instead of spending your hard-earned cash on expensive nursery plants, you’re creating an entire garden from one original specimen. Geraniums (Pelargoniums) are nature’s gift to budget-conscious gardeners—they root with surprising ease and reward your efforts with identical offspring that carry all the best traits of their parent plant.
Timing Your Cutting Adventure
While geraniums are remarkably adaptable, the sweet spot for taking cuttings falls between late spring and midsummer. The key is catching your plant during its active growth phase when the sap is flowing and energy levels are high. Steer clear of sweltering heat waves or chilly snaps—a pleasant, overcast day provides the perfect conditions for your propagation project.
Gathering Your Propagation Arsenal
Essential supplies:
A thriving geranium specimen
Sterilized cutting tools (scissors or garden shears)
Small containers with proper drainage
Fast-draining soil mixture (succulent blend or perlite-enriched potting soil)
Root stimulator powder (beneficial but not mandatory)
Transparent covering material for humidity control
Your Step-by-Step Journey to Propagation Success
Step 1: Select Your Champion Cutting
Hunt for a vibrant, non-blooming shoot measuring 4-6 inches in length. Look for stems with multiple growth nodes—these will become your root formation points. Make your cut cleanly just beneath a node using sanitized tools.
Step 2: Prepare Your Cutting for Success
Carefully remove all foliage from the lower portion of your cutting, leaving only the top leaves intact. Any flower buds should also be removed—while pretty, they’ll drain precious energy away from root development.
Step 3: Give It a Root Boost
Though not absolutely necessary, a quick dip in rooting hormone can accelerate the process significantly. This step proves especially valuable for beginners or when working with challenging varieties.
Step 4: The Perfect Planting Technique
Fill your chosen container with moistened potting mixture, creating a small hole with a dibber or pencil. Gently nestle your cutting into place, ensuring good soil contact around the stem. A light watering settles everything into position.
Step 5: Create the Ideal Microclimate
Transform your pot into a mini conservatory by draping a clear plastic cover over the top. Use wooden stakes to prevent the material from touching the leaves. Position your setup in a location with plenty of ambient light but no direct sunshine.
Step 6: The Patience Game
Root development typically occurs within 14-21 days. You’ll know success has arrived when new growth appears or the cutting resists gentle tugging. Once established, gradually remove the humidity cover.
The Secret to Creating a Full, Flourishing Plant
The transformation from single cutting to bushy specimen relies on one crucial technique: strategic pinching. As soon as your young plant develops several leaf pairs, remove the growing tip. This simple action triggers the plant to produce multiple side shoots, creating that coveted full, rounded appearance.
Continue this pinching routine throughout the growing season, and watch as each intervention doubles your flowering potential. Before long, you’ll have a compact, bloom-laden masterpiece that rivals any store-bought specimen.
Nurturing Your New Green Investment
Light requirements: Mature plants thrive in full sun conditions—aim for 6+ hours of direct sunlight daily for maximum flowering.
Watering wisdom: Allow the soil surface to dry between watering sessions. Geraniums despise constantly moist conditions, which can quickly lead to root problems.
Nutritional needs: Feed your plants with balanced liquid fertilizer every couple of weeks during the growing season to maintain continuous blooming.
Winter preparation: In frost-prone areas, relocate your new plants indoors well before cold weather arrives.
Avoiding Common Propagation Pitfalls
Moisture mistakes: Excessive watering remains the top killer of geranium cuttings. When in doubt, err on the dry side.
Inadequate illumination: Poor lighting conditions result in weak, stretched growth or complete propagation failure.
From Waste to Wonder: Your Propagation Success Story
Rather than viewing that struggling geranium as garden waste, see it as an opportunity for multiplication. With minimal investment and a bit of patience, you’ll transform what appeared to be plant failure into gardening triumph. Soon you’ll find yourself with more flourishing geraniums than containers—the perfect problem for any plant lover to have.