Want to multiply your lavender plants without spending a fortune? I’m about to share the simple secret that transformed my single lavender bush into a whole fragrant garden! Growing lavender from cuttings is surprisingly easy, and you’ll have new plants ready in just 4-6 weeks.
Why Cuttings Beat Seeds Every Time
Here’s the thing about lavender seeds – they’re unpredictable. You might plant English lavender seeds and get something completely different! Cuttings give you an exact copy of the parent plant, including the same gorgeous color, fragrance, and growth habit. Plus, they grow faster than seeds and establish quicker in your garden.
When to Take Your Cuttings
Best timing: Late spring to early summer (May-July) Best time of day: Early morning when stems are fully hydrated
The plant is actively growing during this period, which means your cuttings will root much faster. I’ve tried fall cuttings too – they work, but take longer to establish.
What You’ll Need (Simple Supplies!)
- Sharp, clean scissors or pruning shears
- Small pots or containers with drainage holes
- Well-draining potting mix (I mix regular potting soil with perlite)
- Rooting hormone (optional but helpful)
- Clear plastic bags or a humidity dome
- A bright spot without direct sunlight
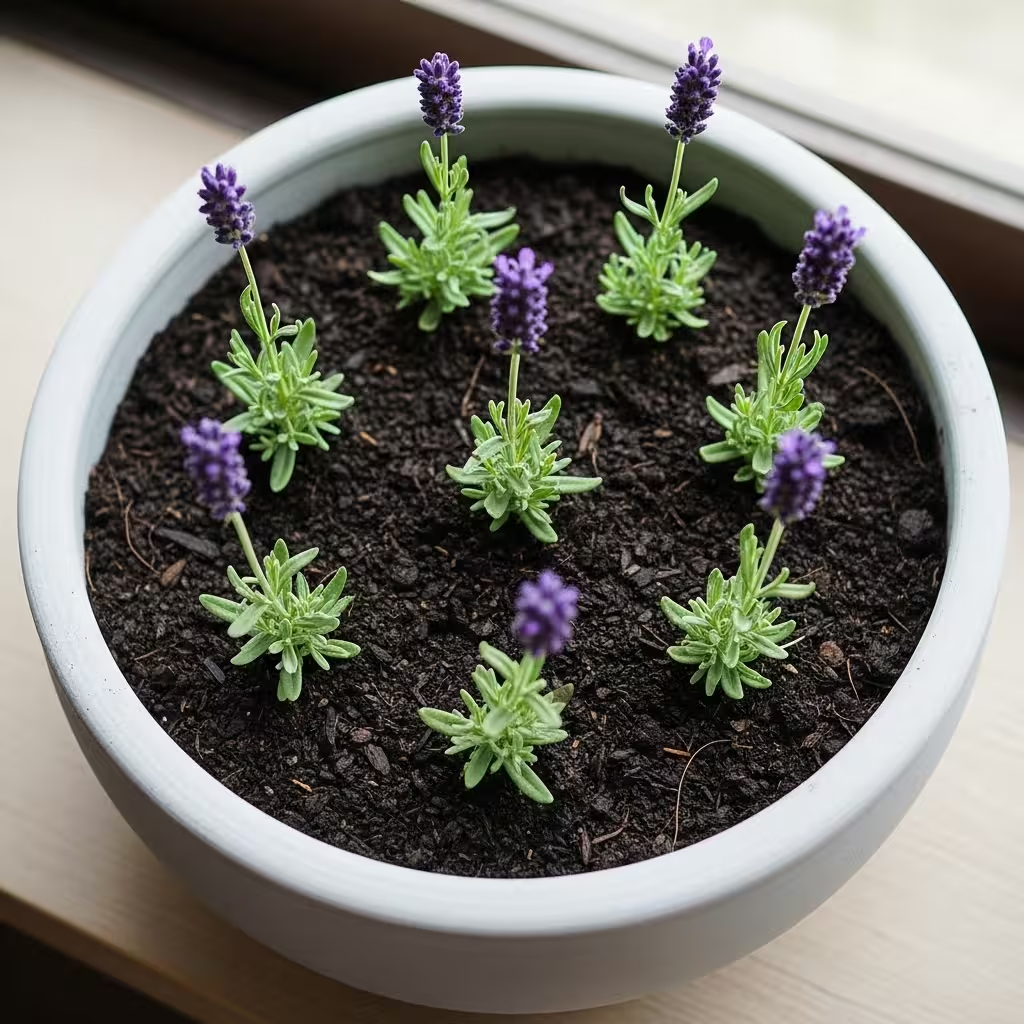
Step-by-Step: Taking Perfect Cuttings
Choose Your Stems
Look for healthy, non-flowering shoots about 3-4 inches long. The best cuttings come from this year’s new growth – they’re usually lighter green and more flexible than older, woody stems.
Make the Cut
Cut just below a leaf node (that’s where leaves attach to the stem). Make it a clean, angled cut to increase the surface area for rooting.
Prepare Your Cutting
- Remove leaves from the bottom half of the stem
- Dip the cut end in rooting hormone if you have it
- Plant immediately in moist potting mix, burying about half the stem
Creating the Perfect Environment
Your cuttings need humidity but not soggy soil. I cover my pots with clear plastic bags, creating little greenhouses. Place them in bright, indirect light – a north-facing window is perfect.
Water carefully: Keep soil barely moist, not wet. Overwatering is the #1 killer of lavender cuttings!
Signs Your Cuttings Are Working
Week 2-3: You might see tiny white bumps at the base – these are root beginnings! Week 4-6: Gentle tugging should show resistance, meaning roots are developing Week 6-8: New growth at the top means your cutting is officially established
Transplanting Your Baby Lavenders
Once your cuttings have strong roots (usually 6-8 weeks), they’re ready for their own pots or garden spots. Choose a sunny location with excellent drainage – lavender hates wet feet!
Pro Tips That Make All the Difference
The pencil test: If you can easily push a pencil into your soil, it drains well enough for lavender.
Don’t fertilize: Young lavender cuttings don’t need food – it can actually harm them.
Be patient: Some varieties root faster than others. English lavender is typically quickest, while French lavender might take a bit longer.
Take extras: I always take more cuttings than I need. Success rates vary, and it’s better to have too many plants than too few!
Common Mistakes to Avoid
- Taking cuttings from flowering stems (they’re focused on blooming, not rooting)
- Using garden soil (too heavy and doesn’t drain well)
- Keeping soil too wet (leads to rotting instead of rooting)
- Placing in direct sun (stresses the cutting before it has roots)
Your Lavender Success Story Starts Now!
The best part about growing lavender from cuttings? Once you master this simple technique, you’ll never buy lavender plants again! I started with one plant three years ago and now have over 20 lavender bushes throughout my garden – all free!
Try this method with your favorite lavender variety, and you’ll be amazed how quickly those little cuttings transform into thriving plants. Before you know it, you’ll be the neighbor everyone comes to for lavender cuttings!
Have you tried growing lavender from cuttings? Share your success stories in the comments – I love hearing about fellow gardeners’ victories!
Related posts:
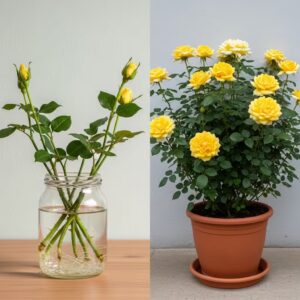 Skip the Nursery: Grow Stunning Rose Trees at Home Using Just a Glass of Water!
 The Ultimate DIY Fertilizer That Doubles Your Tomato, Pepper & Onion Harvest
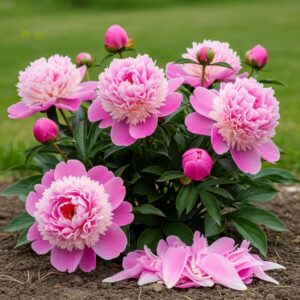 Essential Post-Bloom Peony Care: 10 Expert Tips for Thriving Gardens
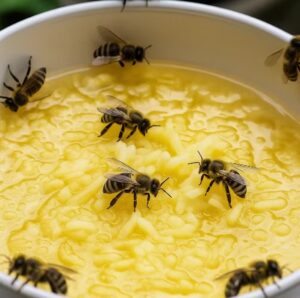 Summer Bee Rescue: Creating Life-Saving Garden Stations That Actually Work
 8 Crucial Post-Bloom Peony Care Steps That Guarantee Spectacular Blooms Next Year
 How to Grow Unlimited Blueberries at Home: The Simple Propagation Method That Saves Thousands
 The Terracotta Pot Secret: How to Grow Thriving Rosemary Plants That Never Turn Brown
 How to Build the Perfect Backyard Fire Pit: A Complete DIY Guide