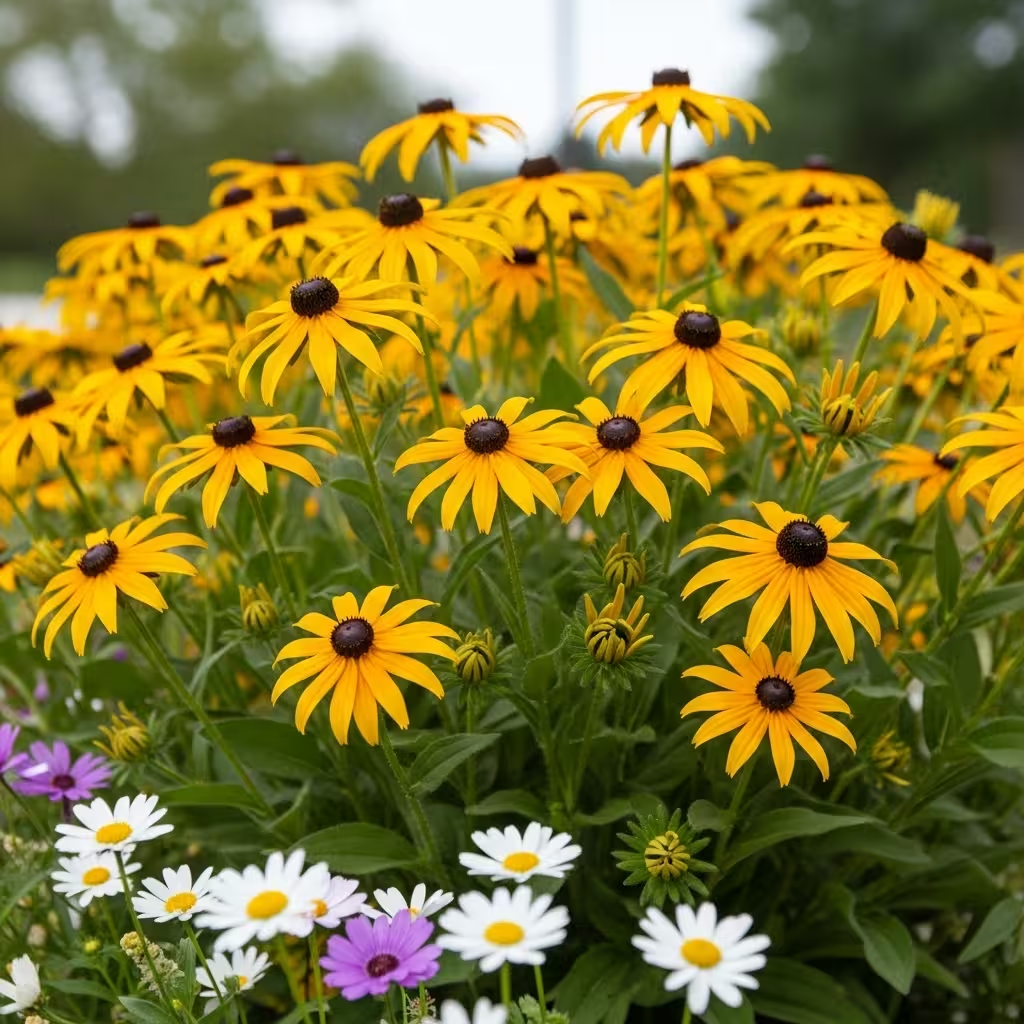
Your beloved Black-eyed Susans have been the golden stars of your garden for years, painting brilliant yellow brushstrokes across your landscape. But lately, you’ve noticed they’re not quite living up to their former glory—fewer blooms, weaker stems, or maybe that telltale bare patch developing in the center of what was once a magnificent clump.
Don’t worry—your Rudbeckia isn’t failing you. It’s simply time for some rejuvenation therapy through the ancient gardening art of division.
The Science Behind the Split: Why Your Rudbeckia Needs Division
Think of an established Rudbeckia clump like a bustling city that’s outgrown its infrastructure. As these vigorous perennials mature, they create increasingly dense colonies that eventually work against themselves:
Resource competition intensifies as roots battle for limited soil nutrients and water, leading to diminished flower production and smaller blooms.
The center begins to weaken as older root systems lose vitality, creating the characteristic “doughnut effect” where the middle dies back while the edges remain healthy.
Disease pressure increases when dense foliage restricts air circulation, creating perfect conditions for fungal problems and pest infestations.
Root systems become congested, limiting the plant’s ability to establish new growth and access fresh soil resources.
Division acts as a reset button, giving your plants room to breathe and thrive while simultaneously expanding your garden for free.
Perfect Timing: When to Wield Your Spade
Success in Rudbeckia division hinges on choosing the right moment in the plant’s lifecycle. Your timing strategy should align with both your local climate patterns and the specific variety you’re growing.
For hardy perennial varieties (such as Rudbeckia fulgida and its cultivars):
Early spring emergence period offers the ideal window—target the phase when fresh shoots are just breaking ground but haven’t yet committed energy to flower bud development.
Late summer to early autumn provides a secondary opportunity, typically 6-8 weeks before your area’s average first frost date, allowing adequate establishment time before winter dormancy.
Mid-bloom division should be avoided as it forces plants to simultaneously manage transplant stress and flower production, often resulting in poor establishment and shortened bloom periods.
Assembling Your Division Toolkit
Successful division requires the right equipment for clean, efficient work:
Essential implements:
- Heavy-duty garden fork or transplanting spade
- Sharp, clean garden knife for severing stubborn connections
- Water source for immediate hydration
- Organic matter or granulated fertilizer for soil amendment
- Protective mulching material
Mastering the Division Process: A Detailed Approach
Phase 1: Pre-Division Preparation
Begin your division project by thoroughly saturating the target clump 24 hours beforehand. Well-hydrated plants recover more quickly from the inevitable root disturbance that accompanies division.
Phase 2: Careful Excavation
Position your digging tool 8-10 inches from the plant’s base to minimize root damage. Work systematically around the entire perimeter, loosening soil before attempting to lift the complete root system.
Phase 3: Strategic Separation
Examine your excavated clump carefully before making any cuts. Natural separation points often exist where individual crowns can be gently teased apart. For resistant connections, use your sharp knife to make clean cuts through root masses.
Each viable division requires:
- Multiple growing points or shoots
- Adequate root system for independent survival
Phase 4: Immediate Replanting
Avoid exposing divided sections to air longer than necessary. Plant each division at its original depth, maintaining proper spacing of 20-30 inches between new plants to prevent future overcrowding.
Phase 5: Establishment Support
Provide generous initial watering to eliminate air pockets and encourage rapid root-to-soil contact. Follow up with consistent moisture management during the critical establishment period.
Phase 6: Long-term Care Setup
Apply a 3-4 inch mulch layer around new plantings to conserve soil moisture and suppress competing weeds. Incorporate slow-release fertilizer or compost to support vigorous new growth.
Professional Tips for Division Success
Site selection matters: Choose locations receiving 6+ hours of direct sunlight daily, as insufficient light leads to weak, floppy growth and reduced flowering.
Maintenance scheduling: Plan division cycles every 3-4 years unless plants show earlier signs of decline or overcrowding.
Flower management: Regular deadheading extends the blooming period and prevents excessive self-seeding in established plantings.
Community building: Share surplus divisions with neighboring gardeners—it’s an excellent way to build gardening relationships and spread garden beauty.
Critical Errors That Undermine Success
Seasonal timing mistakes: Late-season divisions may lack sufficient establishment time before winter stress periods, leading to poor survival rates.
Depth miscalculations: Planting divisions too deeply can trigger crown rot problems, while shallow planting exposes roots to temperature fluctuations.
Water management failures: Newly divided plants require consistent moisture until their root systems fully establish in their new locations.
Overcrowding repetition: Spacing divisions too closely simply recreates the original overcrowding problem in fewer seasons.
The Bigger Picture: Building Garden Sustainability
Rudbeckia division represents more than just plant maintenance—it’s an investment in your garden’s long-term health and beauty. This simple technique transforms aging, declining clumps into vigorous, free-flowering specimens while simultaneously expanding your planting possibilities.
With nothing more than basic tools, proper timing, and a willingness to get your hands dirty, you can maintain a garden that continuously renews itself. Each division cycle not only revitalizes existing plants but also creates opportunities for new design elements, extended seasonal color, and shared gardening joy with friends and neighbors.
The result? A thriving, sustainable garden that gets better and more abundant with each passing year, all while keeping your wallet happily closed.