If you’ve been searching for a foolproof way to satisfy your sweet tooth, look no further. This quick and easy 3-minute fudge recipe is perfect for beginners and seasoned cooks alike. With just three ingredients, minimal effort, and a short preparation time, this recipe is a must-have for your dessert collection. Whether you’re making it for a party, holiday treat, or just because, this fudge delivers rich, creamy chocolate flavor in every bite.
Why You’ll Love This Recipe
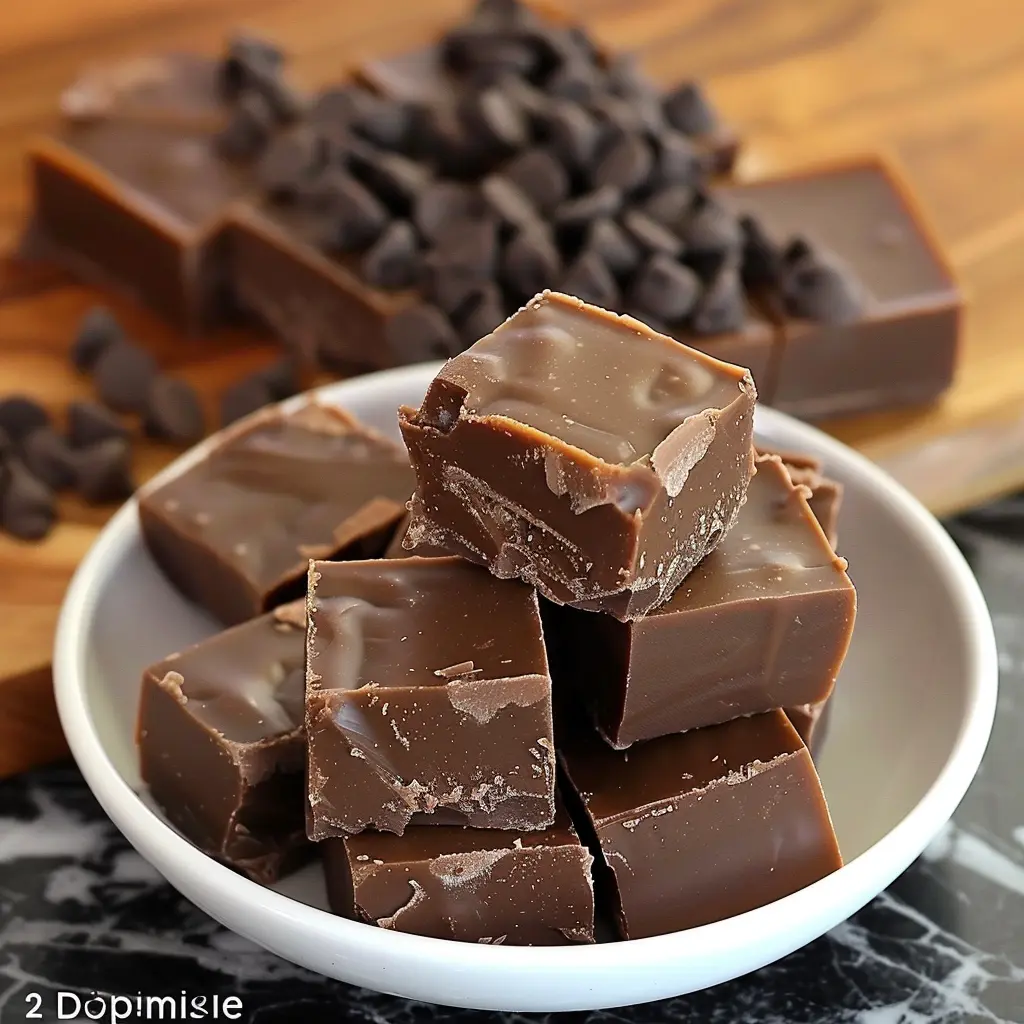
- Minimal Ingredients: All you need are three pantry staples—sweetened condensed milk, semi-sweet chocolate chips, and vanilla extract.
- Quick and Easy: Ready in just a few minutes with no fancy equipment required.
- Customizable: Add your favorite toppings or mix-ins for a personalized touch.
- Perfect for Any Occasion: From holiday treats to birthday parties, this fudge is versatile and loved by all ages.
Ingredients Breakdown: What Makes This Fudge Irresistible?
- Sweetened Condensed Milk: The secret to a creamy, melt-in-your-mouth texture. Its sweetness balances perfectly with the rich chocolate.
- Semi-Sweet Chocolate Chips: Provides the deep chocolate flavor. You can substitute with dark chocolate chips for a less sweet option.
- Vanilla Extract: Enhances the overall flavor profile with a subtle hint of vanilla.
Step-by-Step Instructions for Perfect Fudge
Step 1: Prepare Your Ingredients
Before you begin, make sure you have everything ready. Measure out 3 cups of semi-sweet chocolate chips and open your can of sweetened condensed milk. Preparation is key to keeping this process smooth and stress-free.
Step 2: Melt the Chocolate and Milk
In a microwave-safe bowl, combine the chocolate chips and sweetened condensed milk. Heat on medium power in 1-minute intervals, stirring well after each session. Continue microwaving in 30-second bursts until the mixture is completely smooth.
Pro Tip: Stirring frequently prevents the chocolate from overheating, which can cause it to seize. If using a stovetop, melt the ingredients in a heatproof bowl over a pot of simmering water (double boiler method).
Step 3: Add Vanilla for Extra Flavor
Once your chocolate mixture is silky smooth, stir in 1 teaspoon of vanilla extract. This step enhances the fudge’s depth of flavor, making it irresistible.
Step 4: Pour and Set
Line an 8×8-inch pan with parchment paper or grease it lightly. Pour the fudge mixture into the pan, spreading it evenly with a spatula. Gently tap the pan on the counter to remove any air bubbles.
Step 5: Chill
Place the pan in the refrigerator for 1-2 hours. This allows the fudge to set and firm up to the perfect consistency.
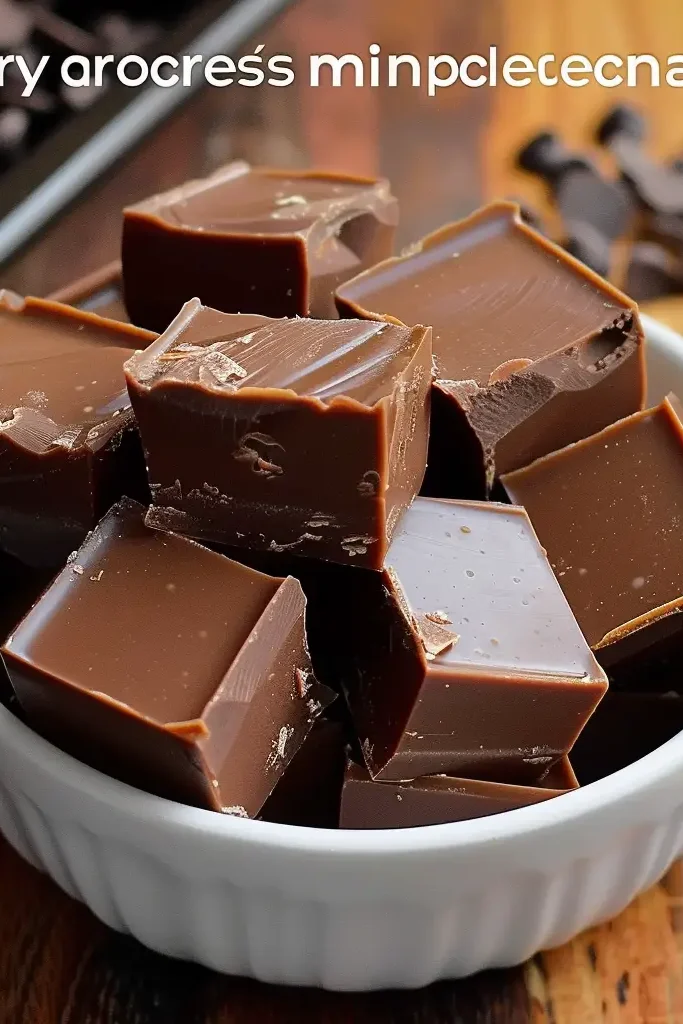
Step 6: Slice and Serve
Once the fudge is fully set, lift it out of the pan using the parchment paper. Slice it into bite-sized squares using a sharp knife. Your rich, velvety fudge is now ready to enjoy!
Tips for Success
- Don’t Overheat the Chocolate: Microwave in short intervals and stir frequently to avoid burning.
- Use High-Quality Ingredients: Opt for premium chocolate chips and pure vanilla extract for the best flavor.
- Line Your Pan: Parchment paper makes cleanup easy and ensures the fudge doesn’t stick.
- Cut Cleanly: Use a hot knife (run it under hot water and dry) to slice through the fudge smoothly.
Variations and Add-Ins
Make this recipe your own by incorporating different flavors and textures:
- Nutty Delight: Add chopped walnuts, almonds, or pecans for crunch.
- Festive Fudge: Sprinkle holiday-themed candy or crushed candy canes on top before chilling.
- Peanut Butter Swirl: Drizzle melted peanut butter into the chocolate mixture and swirl with a toothpick.
- Sea Salt Caramel: Sprinkle a pinch of sea salt or drizzle caramel sauce over the top for a gourmet twist.
How to Store Your Fudge
- At Room Temperature: Store the fudge in an airtight container for up to 1 week.
- In the Refrigerator: Keep the fudge chilled for up to 2 weeks.
- In the Freezer: Freeze for up to 3 months. Wrap individual pieces in wax paper and store in a freezer-safe bag.
Frequently Asked Questions
1. Can I use a different type of chocolate?
Yes! Dark chocolate, milk chocolate, or even white chocolate chips can be used. Adjust the sweetness accordingly.
2. Can I make this fudge dairy-free?
Absolutely. Use dairy-free chocolate chips and sweetened condensed coconut milk for a vegan version.
3. What if I don’t have a microwave?
You can melt the chocolate and milk on a stovetop using a double boiler.
4. Is this recipe gluten-free?
Yes, as long as you use gluten-free chocolate chips and sweetened condensed milk.
Why Homemade Fudge Beats Store-Bought
Homemade fudge allows you to control the ingredients, ensuring a fresher and more delicious treat. It’s also more economical and customizable to suit your preferences. Plus, there’s something incredibly satisfying about making your own sweet treat from scratch.
Perfect Occasions to Make This Fudge
- Holidays: A delightful addition to your Christmas dessert table.
- Gifts: Wrap squares in decorative packaging for a homemade present.
- Potlucks: A crowd-pleaser that’s always a hit.
- Midnight Snack: Because who doesn’t crave chocolate at odd hours?
Conclusion: Your Go-To Fudge Recipe
This quick and easy 3-minute fudge recipe is a game-changer for dessert lovers. With minimal effort and maximum flavor, it’s perfect for last-minute gatherings or indulgent cravings. Whether you stick to the classic recipe or experiment with creative add-ins, this fudge is sure to impress. Give it a try today and see why it’s a favorite among dessert enthusiasts!