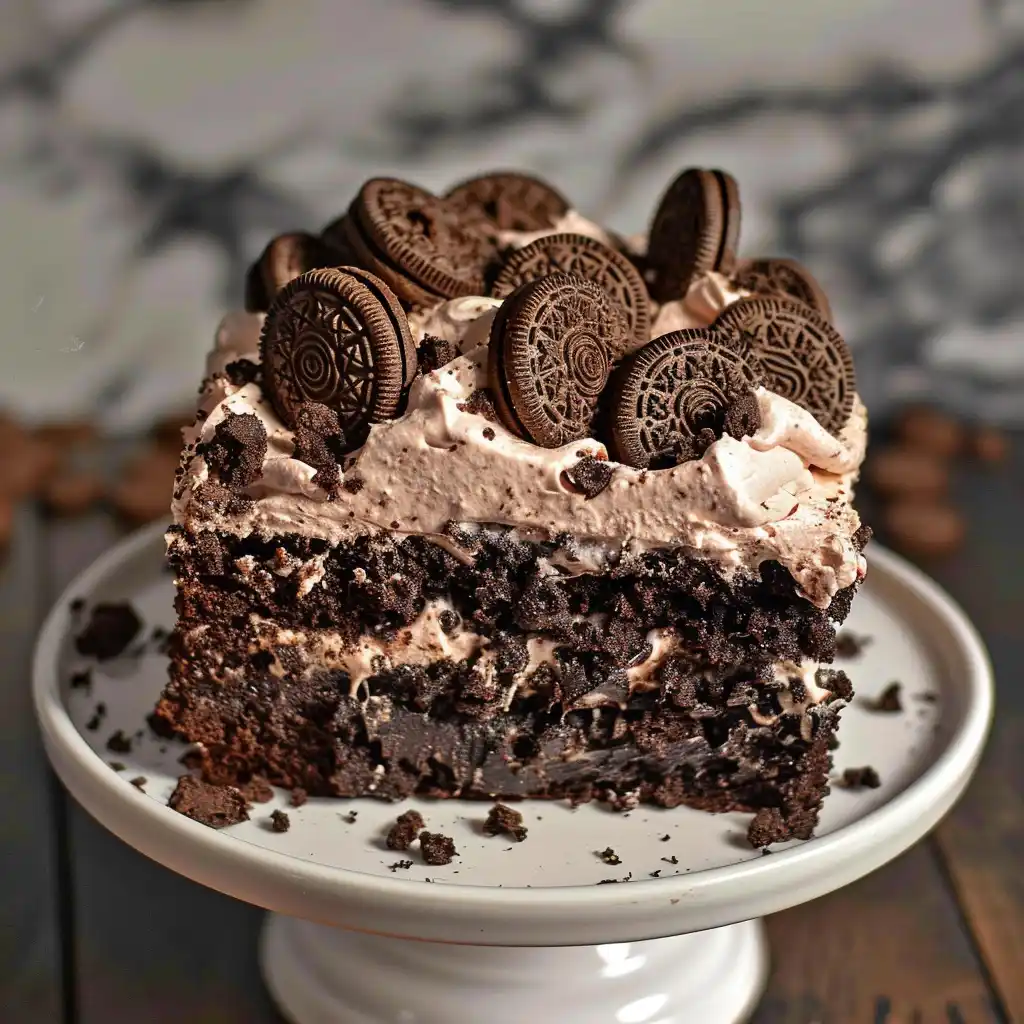
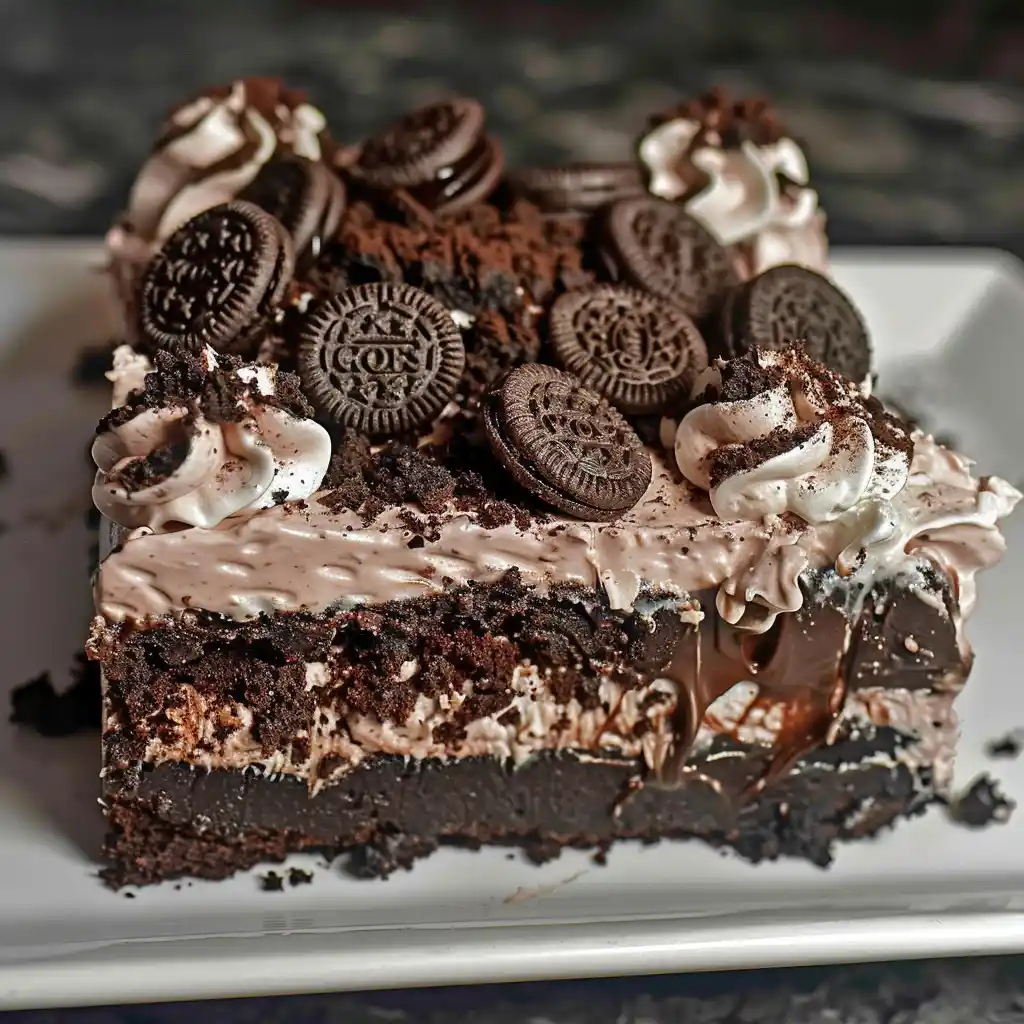
This Oreo Dirt Cake is a rich and indulgent treat perfect for birthdays, potlucks, or family gatherings. With layers of moist chocolate cake, creamy pudding, hot fudge, and crunchy Oreo pieces, this dessert is as fun as it is delicious. The cool, creamy topping and cookie crumble make every bite an irresistible mix of textures and flavors.
Ingredients
Cake Layer:
- 1 box chocolate cake mix: Prepare according to package instructions.
- Ingredients listed on the cake mix box: Usually eggs, oil, and water.
Pudding Layer:
- 30 Oreos, crushed: Adds a signature crunch and chocolatey goodness.
- 12.8 oz hot fudge sauce: Seeped into the cake for added richness.
- 3.4 oz chocolate instant pudding mix: For a creamy middle layer.
- 1 3/4 cup milk: Combines with pudding mix to create a smooth consistency.
Topping:
- 3.4 oz chocolate instant pudding mix
- 1 3/4 cup milk
- 8 oz Cool Whip, thawed
- Remaining crushed Oreos: For garnish.
Instructions
1. Prepare and Bake the Cake
- Follow the instructions on the chocolate cake mix box to prepare the batter.
- Bake the cake in a greased baking dish as directed.
- Once baked, remove from the oven and allow the cake to cool for 10 minutes.
2. Poke Holes and Add Hot Fudge
- Using the back of a spoon, poke holes evenly across the surface of the cake.
- Warm the hot fudge sauce in the microwave until it is pourable.
- Pour the hot fudge evenly over the cake, allowing it to seep into the poked holes.
- Let the cake cool completely.
3. Add the Pudding Layer
- In a medium bowl, whisk together 3.4 oz chocolate pudding mix and 1 3/4 cup milk.
- Before the pudding fully sets, pour it evenly over the cooled cake.
- Refrigerate the cake for about 20 minutes to allow the pudding layer to set.
4. Prepare the Topping
- In another medium bowl, whisk together the remaining 3.4 oz chocolate pudding mix and 1 3/4 cup milk.
- Refrigerate the pudding for about 10 minutes until fully set.
- Gently fold the thawed Cool Whip into the pudding to create a fluffy topping.
- Stir in about 3/4 of the crushed Oreos, then spread the topping evenly over the cake.
5. Garnish and Serve
- Sprinkle the remaining crushed Oreos over the top of the cake for a decorative and crunchy finish.
- Serve immediately or refrigerate until ready to serve.
Tips for Success
- Crush Oreos Easily: Place the Oreos in a resealable plastic bag and crush them with a rolling pin for an easy and mess-free method.
- Fully Cool the Cake: Ensure the cake is completely cooled before adding the pudding to prevent a runny consistency.
- Custom Oreo Flavors: Try using flavored Oreos like mint, peanut butter, or golden Oreos for a fun twist.
Variations
- Peanut Butter Twist: Add a drizzle of melted peanut butter to the cake along with the hot fudge.
- Minty Dirt Cake: Use mint-flavored Oreos and add a touch of peppermint extract to the pudding layer.
- Double Chocolate: Mix mini chocolate chips into the Cool Whip layer for extra chocolate flavor.
Serving Suggestions
This Oreo Dirt Cake pairs perfectly with:
- Vanilla Ice Cream: Adds a creamy contrast to the rich cake.
- Chocolate Syrup Drizzle: For extra decadence.
- Fresh Berries: Strawberries or raspberries provide a tart balance to the sweetness.
Storage
- Refrigerator: Store leftovers in an airtight container in the refrigerator for up to 3-4 days.
- Freezing: Freeze individual portions tightly wrapped in plastic wrap for up to 2 months. Thaw overnight in the refrigerator before serving.
Frequently Asked Questions (FAQs)
1. Can I make this cake ahead of time?
Yes! This cake is best when made a few hours or even a day in advance, as the flavors meld beautifully while chilling.
2. Can I use homemade whipped cream instead of Cool Whip?
Absolutely! Homemade whipped cream works well but may need to be stabilized with a bit of gelatin to hold its shape.
3. What’s the best way to crush Oreos?
Place them in a food processor for finely crushed crumbs or use a rolling pin for a coarser texture.
This Oreo Dirt Cake is a dessert lover’s dream—layered with moist chocolate cake, creamy pudding, rich hot fudge, and crunchy Oreos. Whether you’re making it for a celebration or just because, this no-fail recipe guarantees smiles all around.
Dig into this decadent, no-bake masterpiece and enjoy every delicious bite!