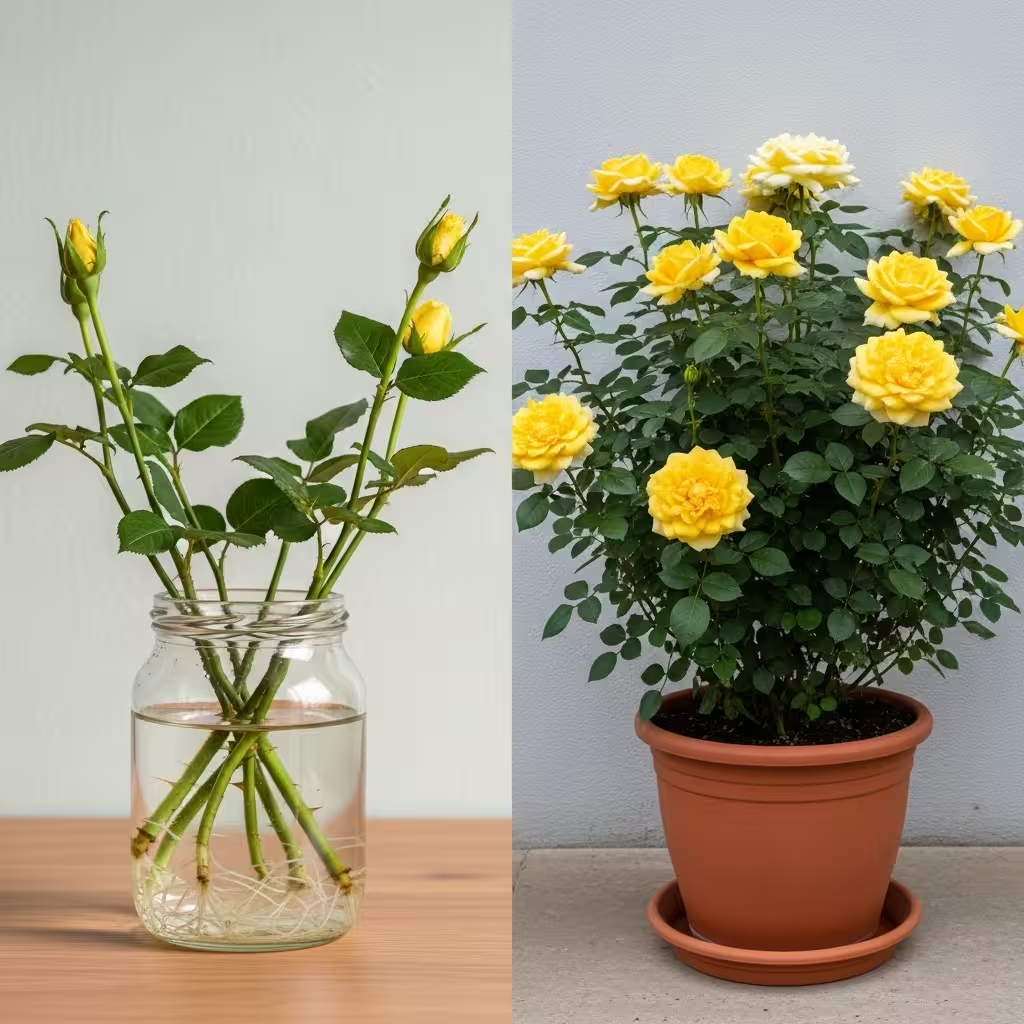
Imagine telling someone you’re growing roses using potatoes, and watch their face light up with confusion. It sounds like garden folklore, doesn’t it? Yet this brilliantly simple technique has been quietly passed down through gardening communities for decades, and it works remarkably well.
If you’re looking to expand your rose collection without emptying your wallet at the nursery, this method deserves a spot in your gardening toolkit. Here’s everything you need to know about why sticking a rose cutting into a potato actually makes sense—and how to do it right.
The Science Behind the Spud
At first glance, pairing roses with potatoes seems absurd. But when you dig deeper (pun intended), the logic becomes clear. Potatoes create an ideal microenvironment for vulnerable rose cuttings in three key ways:
Consistent moisture: Young cuttings are incredibly thirsty. A potato’s high water content keeps the stem hydrated during those critical first weeks when it has no roots to draw from soil.
Natural nutrients: While not a complete fertilizer, potatoes contain starches, potassium, and trace minerals that can support early growth stages.
Physical protection: Nestled inside a potato, the cutting’s base stays shielded from hungry insects, harmful bacteria, and harsh weather fluctuations.
Think of it as giving your cutting a cozy apartment with utilities included while it focuses all its energy on putting down roots.
What You’ll Need to Get Started
This project requires minimal investment—you probably have most supplies already:
- A fresh rose cutting (6–8 inches, taken from this season’s growth)
- One firm potato (no eyes sprouting, no soft spots)
- Sharp, clean pruning shears or knife
- Quality potting mix or prepared garden soil
- A pot or outdoor planting location
- Clear plastic bottle or glass jar (for humidity control)
- Rooting hormone powder (optional but recommended)
Your Step-by-Step Guide
Step 1: Harvest Your Cutting
Choose a healthy stem that’s recently finished flowering. Make a clean, angled cut just below a node (where leaves attach). Strip off the bottom leaves, leaving 2–3 sets at the top. Remove any remaining flowers or buds—they’ll drain energy the cutting needs for root development.
Step 2: Prepare Your Potato
Grab your potato and use a clean knife or screwdriver to create a hole roughly the diameter of your rose stem. The fit should be snug—too loose and the cutting won’t make proper contact; too tight and you might damage the stem.
Step 3: Unite Rose and Potato
If using rooting hormone, dip the cut end according to package directions. Gently but firmly push the stem about 2 inches into the potato hole. The cutting should stand upright on its own.
Step 4: Get It in the Ground
Prepare a planting hole about 4 inches deep. Position your potato so the cutting extends upward, then backfill with soil, tamping gently around the potato to eliminate air pockets. Only the stem and top leaves should remain visible.
Step 5: Build a Humidity Chamber
Cut the bottom off a clear plastic bottle and place it over your cutting like a miniature greenhouse, or invert a glass jar. This traps moisture and warmth, accelerating root formation. For outdoor plantings, select a spot with morning sun and afternoon shade.
Step 6: Maintain and Monitor
Water enough to keep soil consistently damp—think damp sponge, not swimming pool. Check daily during hot weather. After 4–6 weeks, you should notice fresh leaf growth, your first sign that roots are establishing. Resist the urge to tug on the cutting to check for roots; you might damage new growth.
Pro Tips from Seasoned Gardeners
Timing matters: Late spring through early summer offers ideal conditions—warm soil, long days, and natural humidity.
Multiply your odds: Success rates vary, so prepare 3–4 cuttings to ensure at least one thrives.
Gradual transition: Once rooted, slowly acclimate your plant by removing the humidity cover for a few hours daily before full exposure.
Location strategy: If planting multiple cuttings, space them at least 6 inches apart to avoid root competition.
Why This Method Has Staying Power
Beyond its practicality, the potato method offers something increasingly rare in modern gardening: simplicity. There’s no expensive equipment, no complicated formulas, and no need for specialized facilities. It’s accessible enough for children to try yet effective enough that experienced gardeners still use it.
There’s also something deeply satisfying about turning kitchen scraps and plant trimmings into thriving flowers. It’s the kind of resourcefulness that feels both old-fashioned and refreshingly sustainable.
The Bottom Line
Will every cutting succeed? No—even professional propagators expect some losses. But with proper care, decent conditions, and a little patience, you’ll be surprised how often this oddball technique delivers results.
Next time you’re pruning your roses and spot a promising stem, don’t toss it in the compost. Grab a potato instead. You might just grow an entire rose garden for the price of a bag of spuds—and earn some serious bragging rights in the process.