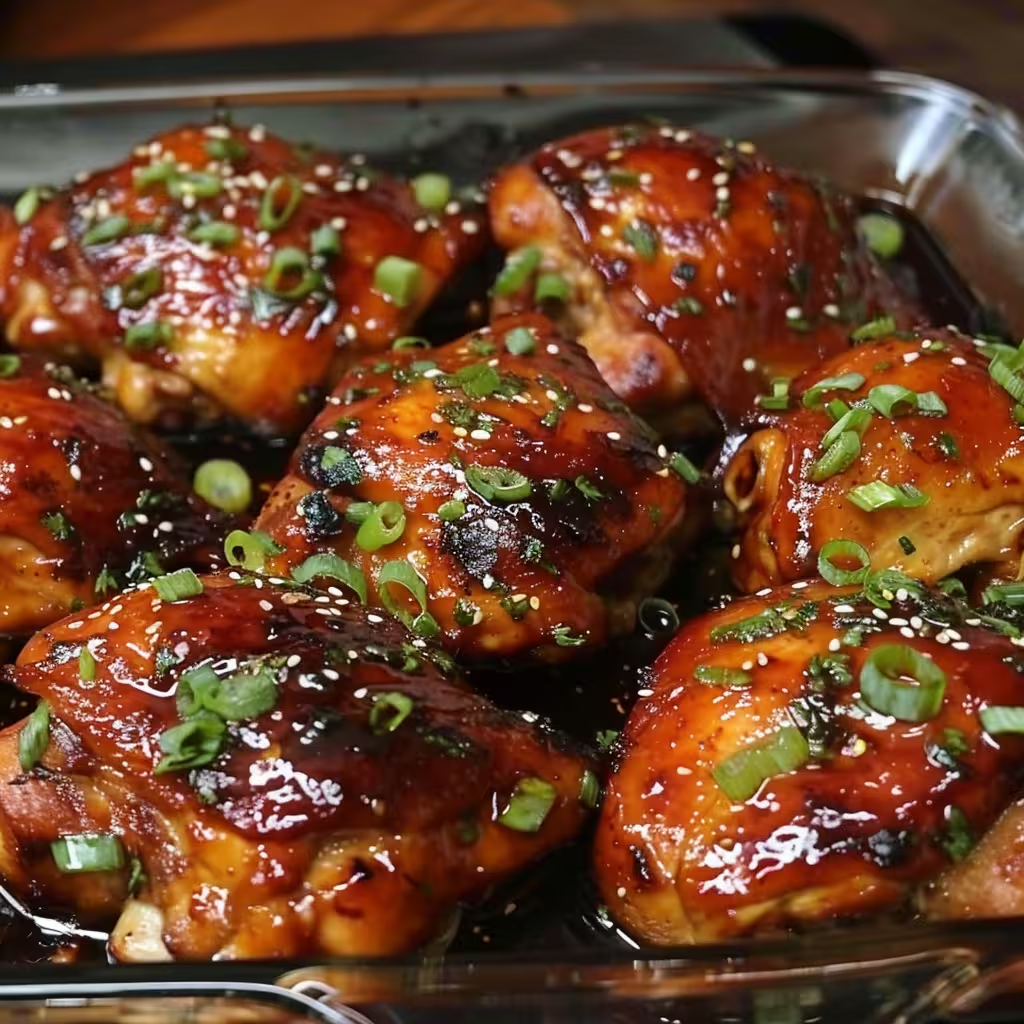
When it comes to weeknight dinners that deliver maximum flavor with minimal effort, baked teriyaki chicken stands out as a family favorite that never disappoints. This homemade version transforms simple ingredients into a glossy, caramelized masterpiece that rivals your favorite Japanese restaurant – all while keeping your kitchen mess to a minimum.
Why This Baked Teriyaki Chicken Recipe Works
Unlike traditional pan-fried versions that require constant attention, this oven-baked method delivers consistently juicy results with a beautifully glazed exterior. The secret lies in the homemade teriyaki sauce that caramelizes during baking, creating those coveted crispy edges while keeping the meat tender and flavorful.
The combination of boneless, skinless chicken thighs ensures maximum juiciness – thighs contain more fat than breasts, making them nearly impossible to overcook. Meanwhile, the high oven temperature of 425°F creates the perfect environment for developing that signature teriyaki glaze.
Ingredients You’ll Need
This recipe uses pantry staples that you likely already have on hand:
For the Homemade Teriyaki Sauce:
- ½ cup white sugar
- ½ cup soy sauce
- ¼ cup cider vinegar
- 1 tablespoon cornstarch
- 1 tablespoon cold water
- 1 clove garlic, minced
- ½ teaspoon ground ginger
- ¼ teaspoon ground black pepper
For the Chicken:
- 12 boneless, skinless chicken thighs
Step-by-Step Instructions
Preparing the Teriyaki Sauce
Start by preheating your oven to 425°F and lightly greasing a 9×13-inch baking dish. The key to perfect teriyaki sauce lies in the timing – you want it thick enough to coat the chicken but not so thick that it burns during baking.
In a small saucepan, combine the sugar, soy sauce, and cider vinegar over low heat. The cider vinegar adds a subtle tang that balances the sweetness beautifully. In a separate small bowl, whisk together the cornstarch and cold water until completely smooth – this slurry will thicken your sauce without creating lumps.
Add the minced garlic, ground ginger, and black pepper to the saucepan, followed by the cornstarch mixture. Simmer the sauce while stirring frequently for 3 to 5 minutes, until it thickens and begins to bubble. The sauce should coat the back of a spoon when ready.
Baking the Chicken
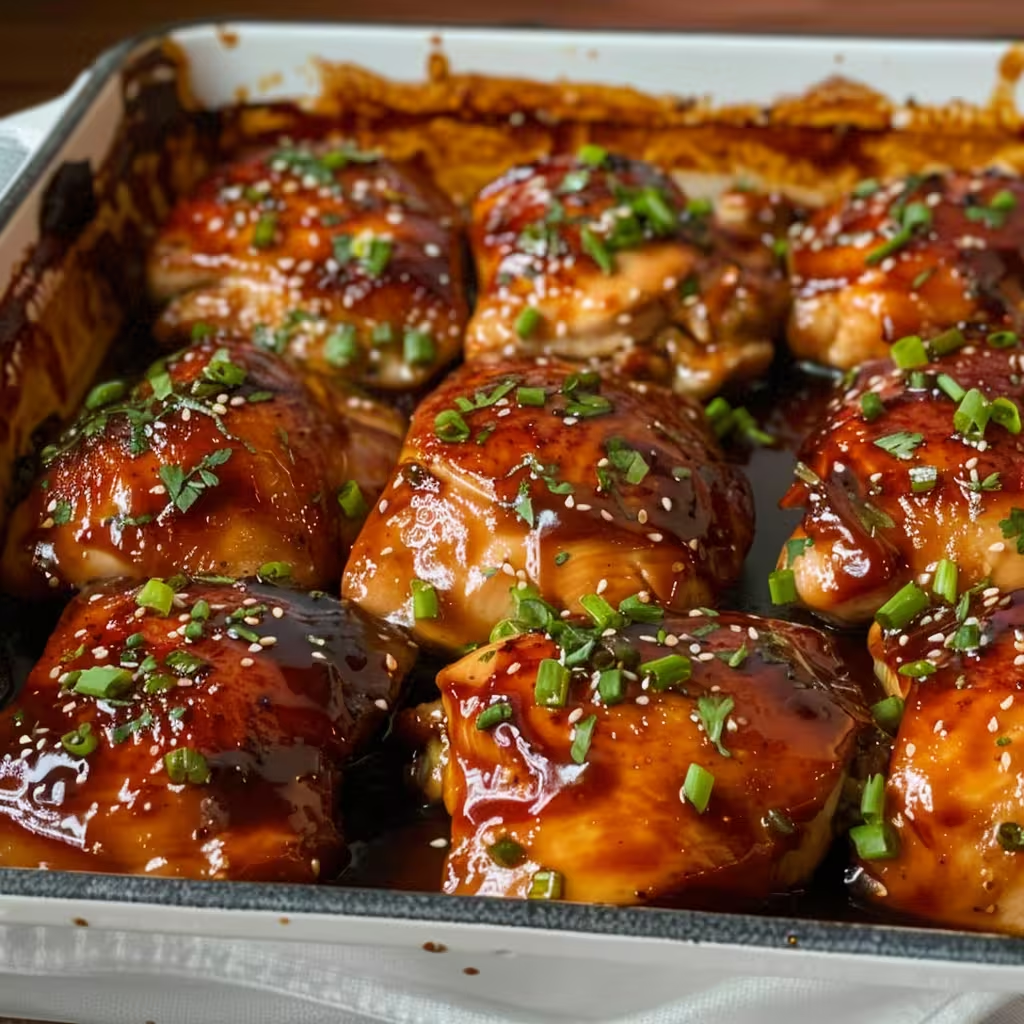
Arrange the chicken thighs in your prepared baking dish, ensuring they don’t overlap. Brush both sides of each thigh generously with the warm teriyaki sauce, reserving the remaining sauce for basting throughout the cooking process.
Bake for 30 minutes, then flip each piece and brush with more sauce. Continue baking for an additional 20 to 30 minutes, basting with the remaining sauce every 10 minutes. This frequent basting creates multiple layers of glaze, resulting in that coveted sticky, caramelized exterior.
The chicken is done when it’s no longer pink inside and the juices run clear. An instant-read thermometer should register 165°F in the thickest part of the thigh.
Pro Tips for Perfect Results
Choose the Right Pan: A 9×13-inch baking dish provides enough space for the chicken to cook evenly without steaming. Glass or ceramic dishes work best for even heat distribution.
Don’t Skip the Basting: Those extra brushes of sauce every 10 minutes make all the difference in achieving restaurant-quality results. Each layer adds depth and creates that signature glossy finish.
Let It Rest: Allow the chicken to rest for 5 minutes after baking. This helps the juices redistribute and makes the meat even more tender.
Serving Suggestions and Variations
This baked teriyaki chicken pairs beautifully with steamed jasmine rice, roasted vegetables, or a fresh Asian slaw. For a complete meal, try serving it over rice with steamed broccoli and a sprinkle of sesame seeds.
Make It Your Own:
- Add a splash of mirin for authentic Japanese flavor
- Include pineapple chunks for a Hawaiian twist
- Substitute chicken breasts if preferred (reduce cooking time to 25-30 minutes total)
- Garnish with sliced green onions and sesame seeds for restaurant presentation
Storage and Meal Prep
This recipe is perfect for meal prep enthusiasts. The cooked chicken keeps in the refrigerator for up to 4 days and reheats beautifully in the microwave or oven. You can also freeze portions for up to 3 months – just thaw overnight in the refrigerator before reheating.
Nutritional Benefits
Chicken thighs provide high-quality protein while remaining budget-friendly. The homemade teriyaki sauce contains no preservatives or artificial ingredients, making it a healthier alternative to store-bought versions. By controlling the sugar content, you can adjust the sweetness to your family’s preferences.
Why Homemade Beats Store-Bought
Creating your own teriyaki sauce takes just minutes but delivers superior flavor and texture. Store-bought sauces often contain high fructose corn syrup and artificial flavors, while this homemade version uses simple, wholesome ingredients that you can pronounce.
The fresh garlic and ginger provide aromatic complexity that bottled sauces simply can’t match. Plus, you can adjust the sweetness, saltiness, and spice level to your exact preferences.
Conclusion
This baked teriyaki chicken recipe proves that restaurant-quality flavors are absolutely achievable in your home kitchen. With its simple ingredient list, foolproof method, and impressive results, it’s destined to become a regular rotation in your dinner lineup.
The combination of juicy chicken thighs and homemade teriyaki glaze creates a meal that’s both satisfying and elegant enough for company. Best of all, the oven does most of the work while you prepare side dishes or simply relax.
Try this recipe tonight and discover why homemade teriyaki chicken is worth the minimal extra effort. Your family will thank you, and you’ll never want to order takeout again.
Related posts:
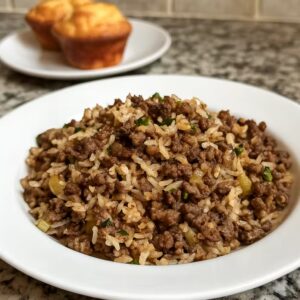 French Onion Beef and Rice: The Ultimate One-Pan Comfort Meal
 Nacho Egg Rolls with Crunchy Cheese: The Ultimate Game Day Fusion Recipe
 How to Make Taco Bell Nacho Fries at Home: The Ultimate Copycat Recipe
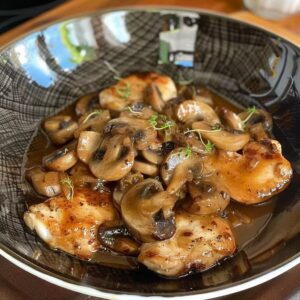 Classic Chicken Marsala: Master This Elegant Italian-American Restaurant Favorite at Home
 Weeknight Chicken Cordon Bleu: Transform Your Dinner Routine with This 30-Minute Restaurant Classic
 Overnight Focaccia
 Air Fryer Parmesan Chicken Tenders
 Crispy Doritos Chicken Tenders: The Viral Recipe Taking Social Media by Storm