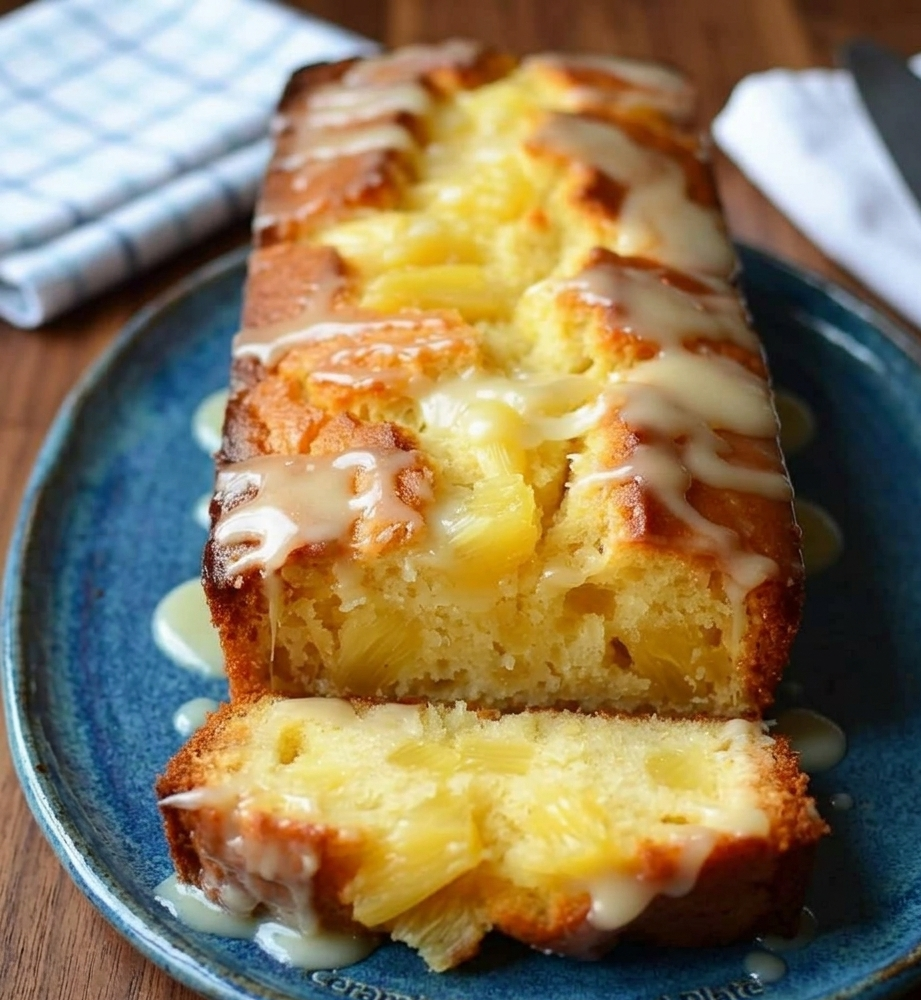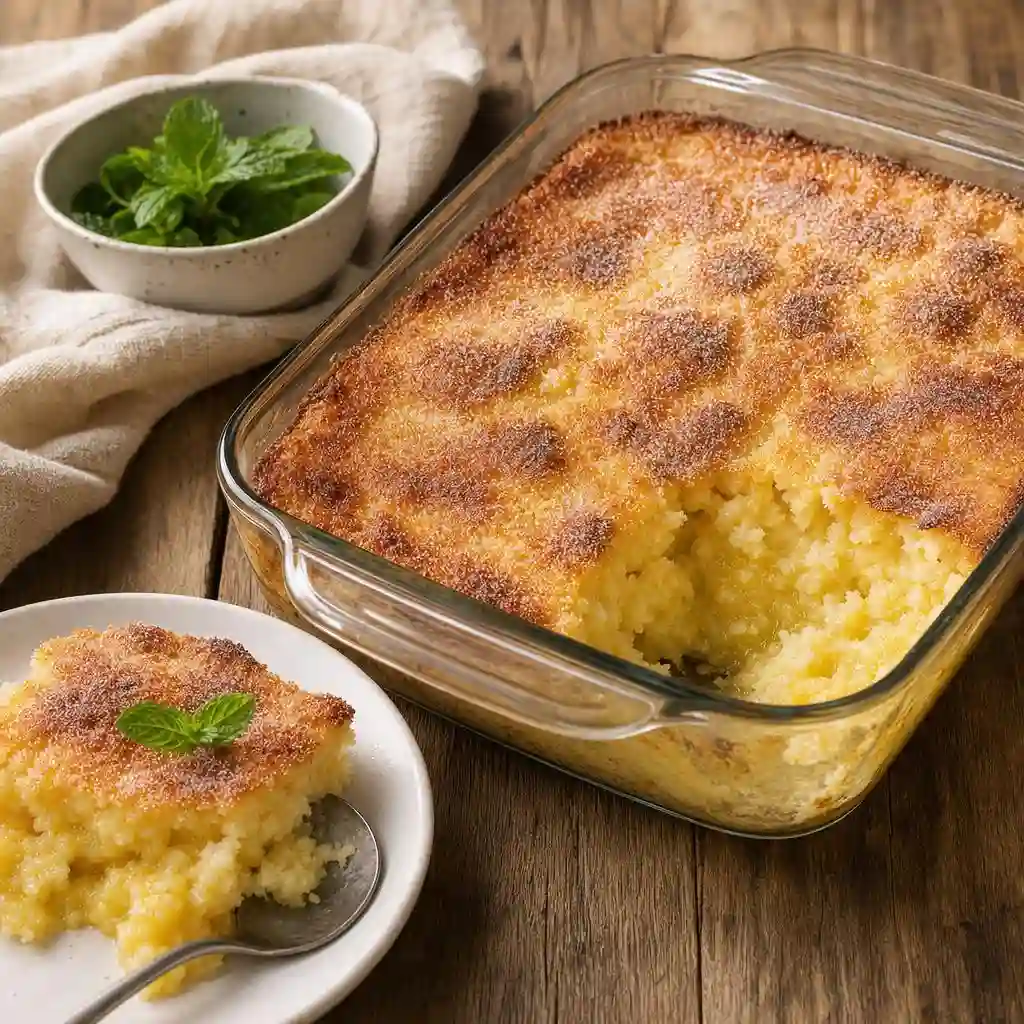
Some recipes don’t come from cookbooks — they come from grandmothers who never measured anything and somehow got it right every single time. This one is exactly that kind of recipe: two ingredients, five minutes of prep, and a dessert that disappears from the pan before it’s even fully cooled.
If you’ve never made a cake from just a box of angel food cake mix and a can of crushed pineapple, you’re in for a pleasant shock. No eggs, no oil, no water — just those two ingredients stirred together and baked. The pineapple juice does all the work that butter and eggs usually do, and the result is a cake that’s golden and faintly crisp on top, pillowy soft in the middle, and just sweet enough without being cloying.
I keep this one in my back pocket for the nights when someone announces at 6 p.m. that they need a dessert for tomorrow, or when a potluck sneaks up on me and I don’t have the energy for anything complicated. It comes together in one bowl, bakes in well under half an hour, and leaves almost nothing to clean up. That combination — minimal effort, maximum payoff — is rare enough that I’ve never once seen a tray of these come back from a get-together with leftovers.
How to Serve It
These bars are best a little warm, not piping hot — that’s the sweet spot where they slice into clean squares but still feel soft and just-baked. I usually just set the whole dish on the table with a spatula and let people help themselves alongside coffee or tea.
For something a bit more special, add a spoonful of whipped cream, a scoop of vanilla ice cream, and a few extra chunks of fresh pineapple on the side. They also pair nicely with a fruit salad or a light green salad if you’re setting up a brunch spread. Hosting a crowd? Cut the bars into smaller squares and arrange them on a platter — though I’ll admit, at my house they usually just get eaten straight out of the baking dish.
2-Ingredient Pineapple Angel Food Bars
Servings: 12
Ingredients
- 1 (15.25-ounce) box angel food cake mix (dry mix only)
- 1 (20-ounce) can crushed pineapple in juice, undrained
- Nonstick cooking spray or a light coating of neutral oil, for the pan
Instructions
- Preheat your oven to 350°F (175°C). Lightly grease a 9×13-inch glass baking dish with cooking spray or a thin layer of oil so the bars lift out easily once baked.
- Pour the dry angel food cake mix into a large mixing bowl. Skip whatever the box tells you to add — no water, no eggs, no oil. The only other ingredient here is the pineapple.
- Add the entire can of crushed pineapple, juice included. That juice replaces every liquid the cake mix would normally need and is what gives the bars their light, fluffy texture.
- Stir by hand with a spatula or wooden spoon until fully combined. The batter will puff up and turn thick and airy, with bits of pineapple visible throughout — that’s exactly right.
- Spread the batter evenly into your prepared dish, smoothing the top so it bakes evenly.
- Bake for 25–30 minutes, until the top is lightly golden, the edges look set, and a toothpick inserted near the center comes out mostly clean (a few moist crumbs are totally fine).
- Let the dish cool on the counter for 20–30 minutes before slicing — this gives the center time to set so your squares hold together.
- Cut into 12–16 bars and serve straight from the dish. Leftovers keep well covered at room temperature for up to 2 days, or in the fridge if you like them cold.
Tips & Variations
- Extra flavor: Stir in 1 teaspoon of vanilla extract or a pinch of salt before baking for a rounder flavor.
- Add crunch: Sprinkle ½ cup of shredded coconut or chopped pecans over the top before baking — they’ll toast right in the oven.
- For guests: A light dusting of powdered sugar over the cooled bars makes them look a lot more polished with zero extra effort.
- Pineapple-upside-down vibe: Top with whipped cream, a drizzle of caramel, and a maraschino cherry or two.
- Thicker bars: Bake in a smaller 9×9 dish and add a few extra minutes, watching for that light golden top.
- Make-ahead: Bake the night before, cool completely, then cover and refrigerate. They slice even more cleanly cold and pack easily for lunches or the office.