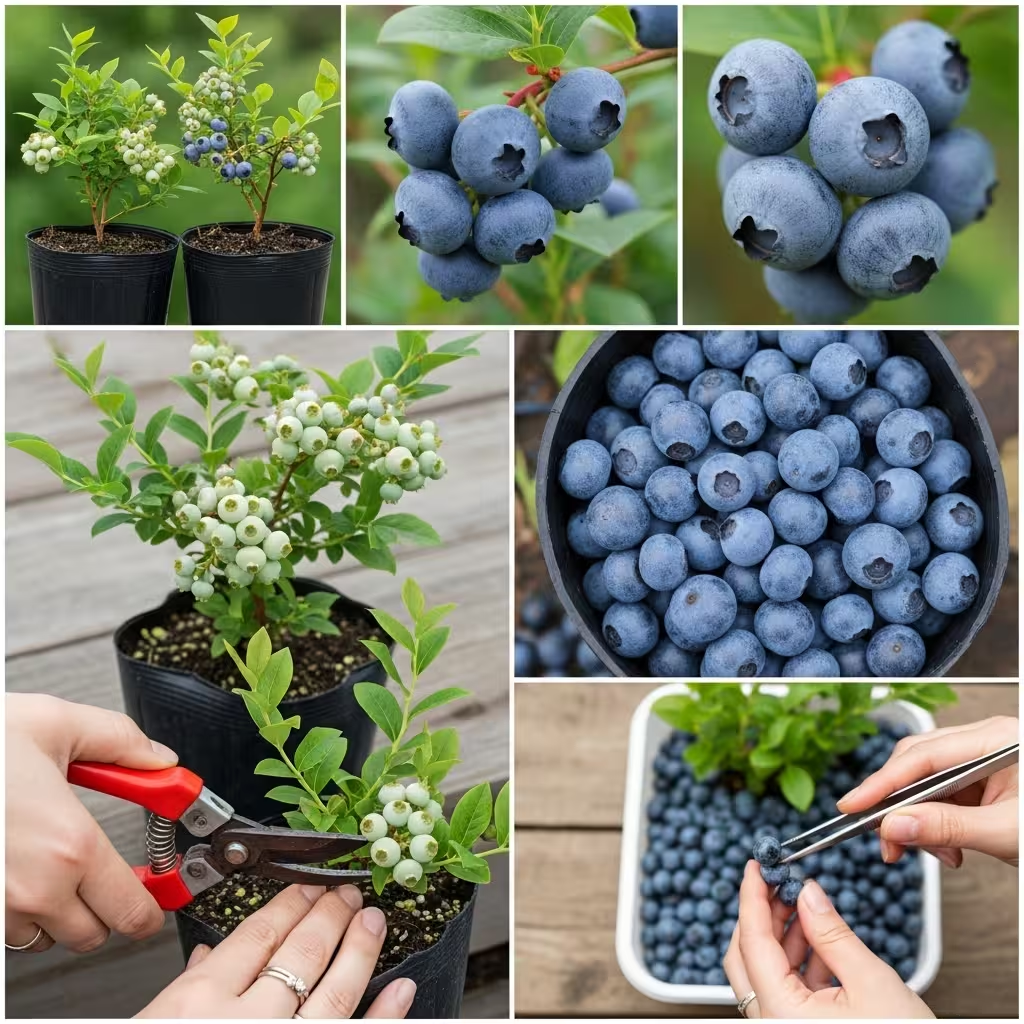
Tired of paying premium prices for tiny containers of blueberries at the grocery store? What if I told you there’s a simple method that can turn a single blueberry bush into an endless supply of these antioxidant powerhouses – without spending another dime on plants? The secret lies in propagation, and once you master this technique, you’ll never need to buy blueberry plants again.
The Game-Changing Discovery
Most people assume growing blueberries means purchasing expensive plants from nurseries, waiting years for production, and hoping for the best. But experienced gardeners know a different story: blueberry bushes can be multiplied infinitely using cuttings from existing plants. This method, called softwood cutting propagation, allows you to create dozens of new plants from a single mother bush – and each new plant will produce the exact same variety of delicious berries.
The best part? You can start this process with just one blueberry plant, whether it’s growing in your yard, a friend’s garden, or even a bush you spot at a local farm (with permission, of course). Within 2-3 years, you’ll have enough blueberry bushes to supply your family year-round and plenty extra to share or sell.
Why This Method Works So Well
Blueberries are naturally suited to propagation because they develop roots easily from stem cuttings when conditions are right. Unlike growing from seeds (which produces unpredictable results and takes much longer), cuttings create identical clones of the parent plant, guaranteeing you’ll get the same berry size, flavor, and growing characteristics.
The timing is crucial – softwood cuttings taken in late spring or early summer have the highest success rates because the plant’s natural hormones are primed for growth. During this period, the stems are flexible but not too woody, creating the perfect conditions for root development.
The Perfect Timing Strategy
Early Summer Sweet Spot The ideal window for taking blueberry cuttings is late May through early July, depending on your climate. Look for new growth that’s still green and pliable but has begun to firm up slightly. The stem should bend without breaking and feel neither mushy nor completely rigid.
Watch for these visual cues: the new growth should be 4-6 inches long, have healthy leaves, and show no signs of pest damage or disease. Early morning is the best time to take cuttings when plants are fully hydrated from the cool night.
Step-by-Step Cutting Process
Preparation Phase Gather your supplies before you start: sharp, clean pruning shears, rooting hormone powder or gel, small pots filled with a 50/50 mix of peat moss and perlite, and clear plastic bags or a humidity dome. Sterilize your cutting tools with rubbing alcohol to prevent disease transmission.
The Perfect Cut Select healthy, vigorous shoots from the current year’s growth. Make your cuts early in the morning when plants are fully hydrated. Cut 4-6 inch pieces from the tips of branches, making the bottom cut just below a node (where leaves emerge) and the top cut just above a node.
Remove leaves from the bottom half of each cutting, but leave 3-4 leaves at the top for photosynthesis. If the remaining leaves are large, cut them in half to reduce water loss while still maintaining some photosynthetic capability.
Rooting Hormone Application Dip the bottom inch of each cutting into rooting hormone, tapping off excess powder. While not absolutely necessary, rooting hormone significantly increases success rates and speeds up the rooting process. Look for products containing IBA (indole-3-butyric acid) specifically designed for woody plants.
Creating the Perfect Rooting Environment
Soil Mix Mastery The growing medium makes or breaks your success. Blueberries need acidic, well-draining soil that stays consistently moist but never waterlogged. A mix of equal parts peat moss and perlite provides the ideal combination of moisture retention and drainage.
Fill 4-inch pots with your mixture, leaving about half an inch of space at the top. Pre-moisten the soil until it feels like a wrung-out sponge – damp but not dripping wet.
The Humidity Secret Insert cuttings about 2 inches deep into the prepared pots, firming the soil gently around them. The key to success is maintaining high humidity around the cuttings while they develop roots. Cover each pot with a clear plastic bag, securing it with a rubber band, or place multiple pots under a clear plastic storage container.
The goal is to create a mini greenhouse effect that keeps the air around the cuttings humid while allowing light to reach the leaves. Avoid letting the plastic touch the leaves directly, as this can encourage fungal problems.
Location and Care Strategy
The Goldilocks Zone Place your covered cuttings in bright, indirect light – think morning sun with afternoon shade. Direct sunlight will overheat your mini greenhouse and stress the cuttings before they have roots to support themselves. A north-facing window or shaded porch often provides ideal conditions.
Maintain temperatures between 65-75°F consistently. Avoid locations with temperature fluctuations, such as near heating vents or in unheated garages.
Moisture Management Check soil moisture every few days by lifting the pots – they should feel consistently damp but not soggy. Water gently from the bottom by placing pots in a tray of water for 10-15 minutes, allowing the soil to absorb moisture through drainage holes.
Remove the plastic covers for 15-30 minutes every few days to prevent fungal issues and allow fresh air circulation. Wipe condensation from the inside of plastic covers to maintain visibility and prevent dripping onto leaves.
Signs of Success (And Failure)
Positive Progress Indicators After 2-3 weeks, watch for signs that roots are developing. New leaf growth is the most reliable indicator of successful rooting, though some cuttings may show new growth before developing substantial roots. Gentle resistance when you lightly tug on the cutting also suggests root development.
Healthy cuttings maintain their green color and may even show new leaf buds forming. The leaves should remain firm and show no signs of wilting or yellowing beyond the normal adjustment period.
Troubleshooting Problems Black or mushy stems indicate fungal problems, usually caused by too much moisture or poor air circulation. Remove affected cuttings immediately to prevent spread to healthy ones. Wilted leaves that don’t recover overnight suggest the cutting isn’t taking up water properly – either due to poor soil contact or lack of root development.
If more than half your cuttings fail, evaluate your conditions: too much or too little moisture, inadequate humidity, wrong soil mix, or poor cutting selection are the most common culprits.
Transplanting Your Success
When to Move Up After 6-8 weeks, cuttings with established root systems are ready for individual pots. You’ll know they’re ready when you see roots growing from the drainage holes or when gentle removal reveals a healthy root system at least 1-2 inches long.
Transplant into 6-inch pots filled with acidic potting mix designed for blueberries or azaleas. Handle the delicate new roots carefully, and water thoroughly after transplanting.
First Year Care Keep newly transplanted cuttings in partial shade for several weeks while they establish. Gradually introduce them to more sun over time. Fertilize monthly with an acid-forming fertilizer designed for blueberries, following package directions for container plants.
Protect young plants from extreme weather, bringing container plants indoors during harsh winter conditions in colder climates.
Scaling Up Your Operation
The Multiplication Effect Once you master the basic technique, you can dramatically scale up production. A single mature blueberry bush can provide dozens of cuttings without harming the parent plant. Take cuttings from different branches to maintain the health of your source plant.
Consider staggering your propagation schedule, taking some cuttings in late spring and others in early summer to spread out the workload and increase overall success rates.
Variety Collection Strategy As your skills improve, seek out different blueberry varieties to propagate. Early, mid-season, and late varieties extend your harvest season, while different cultivars offer varying flavors, sizes, and growing characteristics. Many experienced gardeners maintain “mother plants” of their favorite varieties specifically for propagation purposes.
Long-Term Planning and Patience
The Investment Timeline While this method requires patience, the long-term payoff is enormous. First-year cuttings focus on root and foliage development. Second-year plants may produce a few berries but shouldn’t be allowed to fruit heavily. By the third year, your propagated plants should be producing meaningful harvests.
A single successful cutting can eventually become a productive bush yielding 5-10 pounds of berries annually for decades. When you multiply this by the dozens of plants you can create, the potential harvest – and cost savings – becomes truly impressive.
Creating Your Berry Empire Start with one or two favorite varieties and perfect your technique. As your confidence grows, expand to different cultivars and increase your propagation numbers. Many gardeners find they can produce enough plants not only for their own needs but also to share with friends, donate to community gardens, or even sell at local farmers markets.
The initial investment of time and materials pays dividends for years to come. Instead of spending $15-25 per plant at the nursery, you’re creating identical plants for the cost of rooting hormone and potting supplies – usually less than $2 per successful cutting.
This method transforms blueberry growing from an expensive hobby into a sustainable, cost-effective way to enjoy unlimited fresh berries while building valuable gardening skills that apply to many other plants.