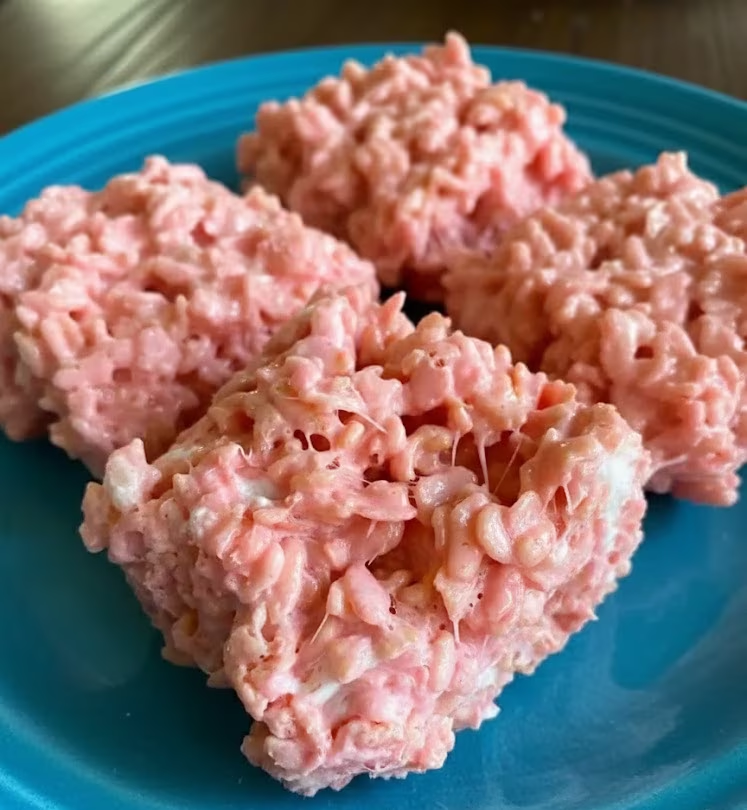
Some recipes have fancy names and complicated techniques. This one? It’s called Ragtag Candies for a reason—it’s a glorious, delicious mess of crunchy cereal, salty pretzels, roasted peanuts, and smooth white chocolate all jumbled together into the most addictive snack you’ll ever make. It’s the perfect combination of sweet and salty, crunchy and creamy, simple and spectacular. Make it once, and it’ll become your go-to recipe for parties, gifts, movie nights, and emergency chocolate cravings.
The Perfect No-Bake Treat
What makes Ragtag Candies so brilliant is their utter simplicity. There’s no baking, no candy thermometer, no precise temperatures to worry about. You melt chocolate, stir in crunchy stuff, spread it out, and wait for it to set. That’s it. Yet the result tastes like something from a gourmet candy shop, with layers of texture and flavor that keep you reaching for “just one more piece” until suddenly the entire batch has vanished.
This is the recipe that makes you look like a kitchen genius when you bring it to parties, even though you barely did anything. It’s also dangerously easy to make at midnight when a snack craving hits.
Endlessly Versatile
While the classic combination is unbeatable, Ragtag Candies are infinitely customizable. Swap the white chocolate for milk or dark. Change up the cereal. Use different nuts. Add dried fruit. The base method stays the same while you create endless variations to suit your taste or use up whatever’s in your pantry.
Ingredients You’ll Need
The Simple Lineup:
- 1 bag (12 ounces) white chocolate chips
- 4 cups Rice Krispies cereal (or any crispy rice cereal)
- 3 cups pretzel sticks, slightly crushed into bite-sized pieces
- 1½ cups roasted peanuts (salted or unsalted, your choice)
Four ingredients. That’s all that stands between you and candy perfection.
How to Make Ragtag Candies
Step 1: Prep Your Pan Line a large rimmed baking sheet (about 13×18 inches) with parchment paper, making sure it covers the bottom completely and comes up the sides slightly. This prevents sticking and makes cleanup effortless. Set this prepared pan aside where you can easily reach it once you’ve mixed everything together—you’ll want to work quickly once the chocolate is added.
Step 2: Combine the Crunchy Components In a large mixing bowl—and I mean large, because this mixture gets bulky—combine the Rice Krispies cereal, crushed pretzel sticks, and roasted peanuts. Toss them together with your hands or a large spoon until they’re evenly mixed. You want the pretzels broken into bite-sized pieces, not pulverized into dust—aim for pieces about ½ to 1 inch long. This creates the perfect texture in every bite.
Step 3: Melt the White Chocolate Place the white chocolate chips in a medium microwave-safe bowl. Microwave on medium power (50-70%) in 30-second increments, stirring thoroughly between each interval. This is important—white chocolate is more delicate than regular chocolate and can seize or burn if you rush it with high heat. After 30 seconds, stir. Repeat. It usually takes 2-3 intervals (about 1.5-2 minutes total) until the chocolate is completely melted and smooth. Stir vigorously until there are no lumps remaining and the chocolate is silky and pourable.
Step 4: Coat Everything in Chocolate Working quickly while the chocolate is still fluid, pour the melted white chocolate over the cereal-pretzel-peanut mixture in the large bowl. Using a rubber spatula or large spoon, fold and stir everything together until every piece is coated in white chocolate. Be thorough but work with some speed—the chocolate starts to set as it cools, and you want everything evenly coated before that happens. The mixture will be sticky, clumpy, and gloriously messy—that’s exactly right.
Step 5: Spread and Set Immediately dump the entire chocolate-coated mixture onto your prepared parchment-lined baking sheet. Using your spatula or the back of a spoon (or clean hands), spread it into a relatively even layer about ½ to ¾ inch thick. Don’t stress about making it perfectly smooth—rustic and uneven is part of the charm. Just aim for consistent thickness so it sets evenly.
Step 6: Let It Set Here’s where patience is required. Let the candy sit at room temperature until the white chocolate is completely firm and set—this takes about 1-2 hours depending on room temperature. If you’re in a hurry or live somewhere warm, you can refrigerate it for 30-45 minutes to speed things up. The candy is ready when the white chocolate is hard and no longer tacky to the touch.
Step 7: Break Into Pieces Once fully set, grab the edges of the parchment paper and lift the entire candy slab out of the pan. Place it on a cutting board. Now comes the fun part—breaking it into pieces. Use your hands to snap it into irregular, rustic chunks of various sizes. Some pieces will be big and loaded with goodies, others smaller and daintier. This irregular, ragtag appearance is exactly what makes these candies so charming and snackable.
Step 8: Store and Try Not to Eat It All Transfer the broken candy pieces to an airtight container, layering with parchment paper if needed to prevent sticking. Store at room temperature for up to 2 weeks, or refrigerate for up to 3 weeks. Though honestly, they never last that long—they have a way of disappearing mysteriously whenever anyone walks past the container.
Pro Tips for Perfect Ragtag Candies
Don’t Rush the Chocolate: Melting white chocolate slowly on medium power prevents burning and seizing. Patience pays off with smooth, creamy results.
Work Quickly After Melting: Once you pour the chocolate over the mix, work with purpose. The chocolate cools and thickens fast, making coating more difficult.
Crush Pretzels Just Right: Too fine and they disappear; too large and they’re unwieldy. Aim for ½ to 1-inch pieces.
Use Fresh Ingredients: Stale cereal or rancid nuts ruin the whole batch. Make sure everything is fresh and crunchy.
Even Layer Matters: Spread to consistent thickness so the entire batch sets at the same rate. Thin spots set faster; thick spots take longer.
Cool Completely: Cutting or breaking before fully set creates a sticky mess. Be patient and let it firm up completely.
Customize the Saltiness: Use unsalted peanuts if you prefer less salt, or salted for maximum sweet-salty contrast. Both work beautifully.
Creative Variations
Chocolate Lover’s: Use milk chocolate or semi-sweet chocolate chips instead of white for a richer flavor.
Holiday Edition: Add red and green M&Ms or festive sprinkles before the chocolate sets for Christmas colors.
Trail Mix Style: Add dried cranberries, coconut flakes, or sunflower seeds to the mix.
Peanut Butter Dream: Use peanut butter chips instead of white chocolate, or do half-and-half.
Everything Bagel: Skip the sweet route entirely and use pretzels, bagel chips, and everything bagel seasoning for a savory version.
S’mores Style: Add mini marshmallows and use milk chocolate for a campfire-inspired treat.
Almond Joy: Use almonds instead of peanuts and add shredded coconut.
Spicy Sweet: Add a pinch of cayenne pepper to the melted chocolate for sweet heat.
Perfect For
These versatile candies work for virtually any occasion:
- Holiday gifting in decorative tins or jars
- Party snacks displayed in bowls or bags
- Movie night munchies for the ultimate couch snack
- Bake sales where they sell out first
- Teacher appreciation gifts that show real thought
- Care packages that travel well and taste like home
- Game day spreads for sweet-salty snacking
- Emergency chocolate stash for late-night cravings
Why These Work So Well
The magic of Ragtag Candies lies in the textural variety and flavor balance. Crispy cereal adds light crunch, pretzels bring salt and heartier crunch, peanuts contribute protein and richness, and white chocolate ties it all together with smooth sweetness. Each bite delivers multiple textures and that irresistible sweet-salty combination that keeps your hand diving back into the container.
They’re also incredibly satisfying—substantial enough to feel like a real treat, but broken into pieces that make portion control possible (though admittedly difficult).
The Bottom Line
Prep Time: 10 minutes | Setting Time: 1-2 hours | Total Time: 2 hours 10 minutes
Yield: About 20-25 pieces | Calories: Approximately 150 per piece
Ragtag Candies prove that the best recipes don’t need to be complicated. With four simple ingredients and virtually no technique required, you can create an addictive snack that rivals anything from a candy store. They’re perfect for gifting, snacking, sharing, or hoarding—no judgment here.
Make a batch this weekend and watch how quickly they disappear. Then make another batch, because once people taste these, they’ll be requesting them constantly. The good news? They’re so easy to make that whipping up batch after batch is no hardship at all.
Fair warning: keep these hidden if you want them to last. Ragtag Candies have a way of calling to you from wherever you’ve stored them, and before you know it, you’ll be standing over an empty container wondering where they all went. But that’s okay—it just means it’s time to make another batch.