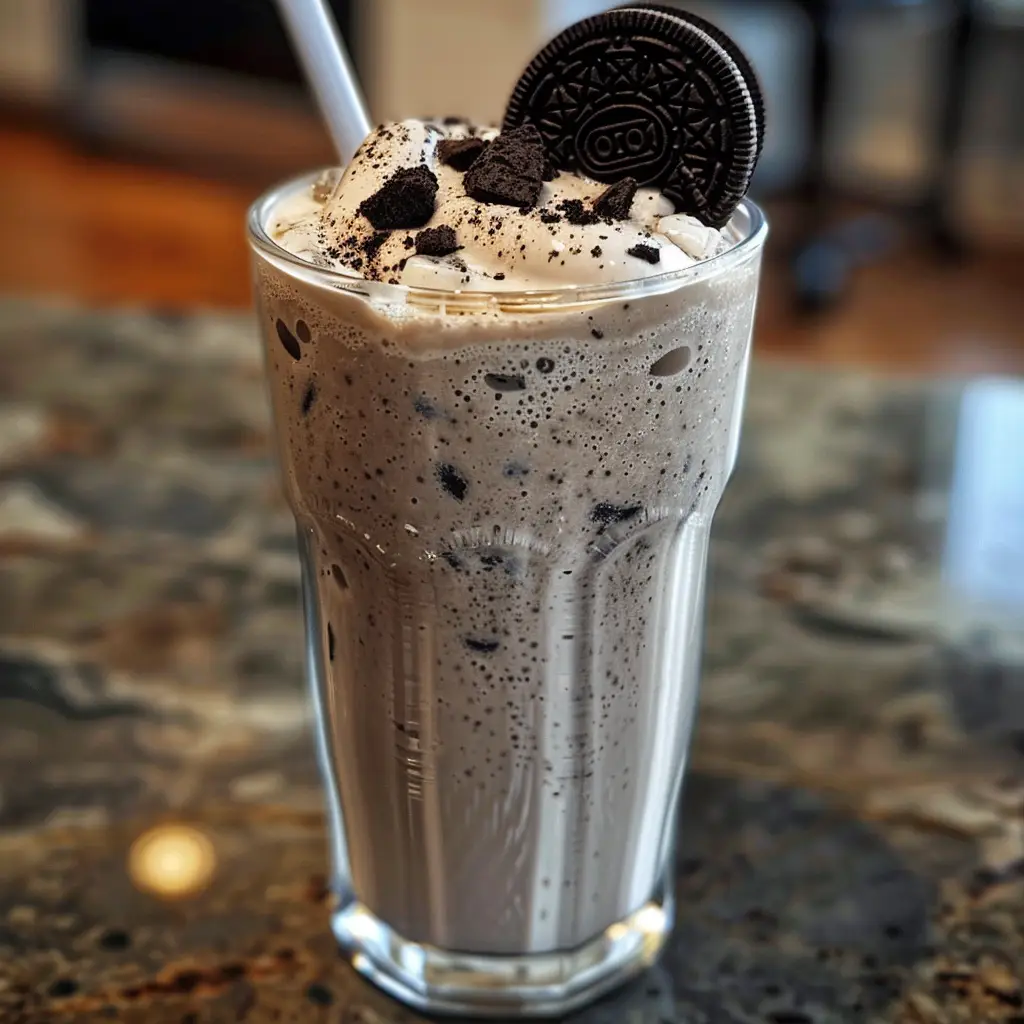
There are desserts that require skill, patience, and a dozen ingredients. And then there are Oreo Balls—ridiculously simple, impossibly delicious, and made with just four ingredients you probably have in your kitchen right now. These little spheres of cookie-and-cream perfection are the kind of treat that disappears so fast you’ll wonder if you actually made as many as you thought you did.
The Ultimate Party Trick
What makes Oreo Balls so genius is their simplicity-to-wow-factor ratio. You’re essentially taking America’s favorite cookie, mixing it with cream cheese, coating it in chocolate, and calling it a day. No baking required. No complicated techniques. No fancy equipment. Yet the result looks professional, tastes indulgent, and has people convinced you spent hours in the kitchen.
These treats go by many names—Oreo truffles, chocolate-covered Oreo balls, Oreo cake balls—but whatever you call them, they’re always a hit at parties, bake sales, holiday gatherings, and gift exchanges.
Perfect for Every Occasion
The beauty of Oreo Balls is their versatility. Make them for Christmas with red and green sprinkles. Create Halloween versions with orange chocolate. Go elegant for weddings with white chocolate and gold dust. Or keep them classic with milk chocolate and no decorations—they’re delicious no matter how you dress them up.
They’re also incredibly kid-friendly to make. Little hands love rolling the mixture into balls, and it’s nearly impossible to mess them up.
Ingredients You’ll Need
The Cookie Base:
- 36 Oreo cookies (one standard package, filling included)
- 8 ounces cream cheese, softened to room temperature
The Chocolate Coating:
- 8 ounces white chocolate, milk chocolate, or dark chocolate (melting wafers work best)
Optional Finishing Touches:
- Colorful sprinkles, crushed Oreos, drizzled chocolate, or sea salt
That’s it. Four ingredients to dessert greatness.
How to Make Oreo Balls
Step 1: Prep Your Space Line a large baking sheet with parchment paper and set aside. This is where your Oreo balls will rest between steps, so make sure you have enough space for about 36 small spheres.
Step 2: Pulverize the Oreos Place all 36 Oreos—filling and all—into a food processor or high-powered blender. Pulse until they’re reduced to fine, uniform crumbs with no large chunks remaining. If you don’t have a food processor, no problem: place the cookies in a large zip-top bag, seal it, and use a rolling pin to crush them into fine crumbs. This method takes a bit more time but works perfectly.
Step 3: Mix with Cream Cheese Transfer the Oreo crumbs to a large mixing bowl and add the softened cream cheese. Using an electric mixer on medium speed, beat the mixture until it’s completely combined and uniform. The mixture should look like thick cookie dough. If it’s not coming together smoothly, don’t be afraid to get your hands involved—sometimes the best mixing tool is your own two hands. Knead and squeeze the mixture until the cream cheese is fully incorporated into every bit of cookie crumb.
Step 4: Shape the Balls Using a small cookie scoop (about 1 tablespoon size) or a spoon, portion out equal amounts of the mixture onto your prepared baking sheet. Once you have all the portions scooped, roll each one between your palms to create smooth, round balls. Try to make them as uniform as possible so they look professional and dip evenly. You should get about 36 balls from this recipe.
Step 5: Firm Them Up Place the baking sheet in the freezer for 10-15 minutes until the balls are slightly firm but not frozen solid. This step is crucial—it makes dipping them in chocolate much easier because they won’t fall apart. However, don’t leave them too long or they’ll be too cold and the chocolate won’t stick properly.
Step 6: Melt the Chocolate While the balls are chilling, melt your chocolate. Place the chocolate or melting wafers in a microwave-safe bowl. Microwave in 30-second intervals, stirring thoroughly between each interval, until the chocolate is completely smooth and melted. Don’t rush this step by using longer intervals—chocolate can burn easily and become grainy.
Step 7: Dip and Coat Remove the Oreo balls from the freezer. Working with one ball at a time, place it on a fork and lower it into the melted chocolate. Use a spoon to pour chocolate over the top if needed, ensuring complete coverage. Lift the ball with the fork and gently tap the fork against the edge of the bowl several times. This removes excess chocolate and creates that smooth, professional finish. Use a toothpick to carefully slide the ball off the fork and back onto the parchment-lined baking sheet.
Step 8: Decorate and Set Before the chocolate hardens (you have about 30 seconds), add any decorations—sprinkles, crushed Oreo crumbs, a drizzle of contrasting chocolate, or a pinch of sea salt. Work quickly! Once all balls are dipped and decorated, let them sit at room temperature or refrigerate until the chocolate has completely hardened, about 15-20 minutes.
Step 9: Store and Serve Transfer the finished Oreo Balls to an airtight container and store in the refrigerator until ready to serve. They taste best when slightly chilled but not ice cold.
Pro Tips for Perfect Oreo Balls
Room Temperature Cream Cheese: Softened cream cheese mixes much more easily with the Oreo crumbs. Leave it out for 30-60 minutes before starting.
Use Melting Wafers: Chocolate melting wafers (also called candy melts or coating chocolate) are easier to work with than regular chocolate chips because they melt smoother and set firmer.
Don’t Over-Freeze: Balls that are too cold will cause the chocolate coating to crack as it sets. Aim for slightly firm, not frozen solid.
Keep Hands Cool: If your hands are warm, the balls will become sticky and hard to roll. Rinse your hands in cold water and dry them between batches.
Double Dip if Needed: If your first chocolate coating seems thin, let it set completely, then dip again for a thicker shell.
Thin the Chocolate: If your melted chocolate is too thick for smooth dipping, add a teaspoon of coconut oil or shortening to thin it out.
Clean Fork Technique: After tapping off excess chocolate, use a toothpick under the ball to help slide it cleanly onto the parchment without leaving a large fork mark.
Creative Variations
Flavor Combinations:
- Golden Oreos with white chocolate
- Mint Oreos with dark chocolate and crushed candy canes
- Peanut butter Oreos with milk chocolate
- Red velvet Oreos with cream cheese frosting drizzle
Seasonal Decorations:
- Christmas: Red and green sprinkles, crushed candy canes
- Halloween: Orange chocolate coating, black sprinkles
- Valentine’s Day: Pink or red coating, heart sprinkles
- Easter: Pastel colors, spring sprinkles
Gourmet Touches:
- Drizzle with contrasting chocolate
- Roll in crushed nuts before chocolate sets
- Top with flaky sea salt
- Dust with edible gold for weddings
Storage and Gifting
Store Oreo Balls in an airtight container in the refrigerator for up to 2 weeks. They can also be frozen for up to 3 months—just thaw in the refrigerator before serving. For gifting, arrange them in decorative boxes lined with tissue paper, package in clear cellophane bags tied with ribbon, or present them in holiday tins for a thoughtful homemade gift.
Why These Are Always a Hit
Oreo Balls hit all the right notes: they’re rich but not overwhelmingly sweet, they have great textural contrast between the creamy filling and chocolate shell, and they’re the perfect two-bite size. Plus, everyone loves Oreos, so they’re immediately familiar and appealing to both kids and adults.
They’re also incredibly forgiving—there’s virtually no way to mess them up. Slightly lopsided? No one will notice once they’re coated in chocolate. Chocolate coating not perfectly smooth? Still delicious.
The Bottom Line
Prep Time: 30 minutes | Chilling Time: 15 minutes | Total Time: 45 minutes
Yield: About 36 Oreo Balls
These Oreo Balls prove that the best recipes don’t have to be complicated. With just four ingredients and no baking required, you can create a dessert that looks impressive, tastes amazing, and disappears within minutes of being set out. They’re perfect for parties, holidays, bake sales, or whenever you need something sweet that’s guaranteed to please a crowd.
Make a batch this weekend, and don’t be surprised when people immediately ask for the recipe. The best part? You can smile knowingly, because you know just how ridiculously easy they are to make. Some secrets are worth keeping.