Transform your tired iris beds into blooming masterpieces with this essential garden maintenance technique
The Secret to Spectacular Iris Blooms
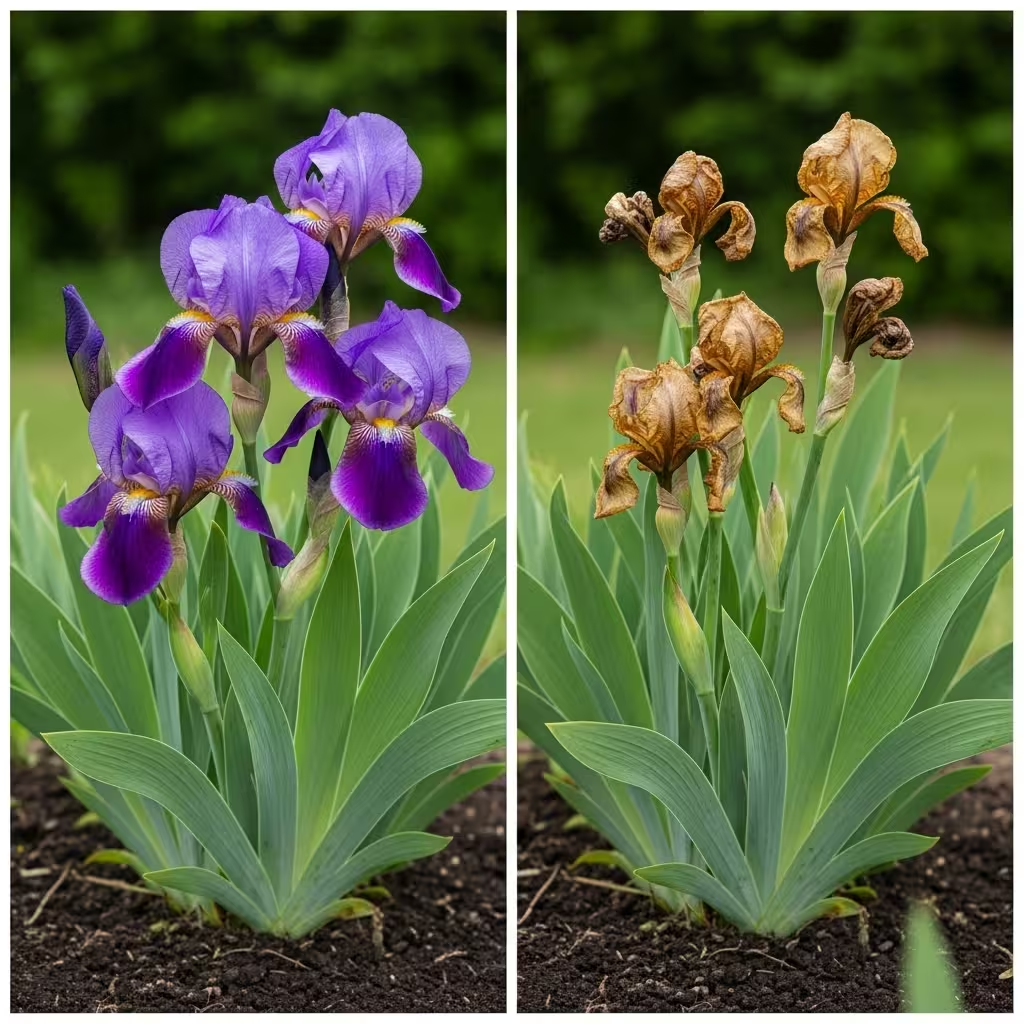
Your iris garden was once the envy of the neighborhood. Those majestic purple, yellow, and white blooms created a stunning display each spring. But lately, something’s changed. The flowers seem smaller, fewer in number, and the plants look oddly congested. Before you blame poor weather or bad soil, consider this: your irises might simply be crying out for division.
Understanding the Iris Life Cycle
Irises grow from rhizomes—thick, horizontal underground stems that store energy and produce new growth. These rhizomes are natural multipliers, creating new shoots and expanding outward each year. While this multiplication is wonderful for creating fuller gardens, it eventually becomes counterproductive.
As rhizomes crowd together, they begin competing fiercely for resources. The result? A garden that looks bushy but produces disappointing blooms. Think of it as an overcrowded apartment building where everyone suffers from the lack of space and resources.
Recognizing When Division is Necessary
Your irises will give you clear signals when they’re ready for division:
Visual Cues:
Blooms that are noticeably smaller than previous years
Fewer flower stalks emerging from each clump
Dense, overcrowded foliage that looks tangled
Centers of clumps that appear hollow or dead
Performance Issues:
Stems that bend or fall over easily
Reduced flowering despite good growing conditions
Increased susceptibility to fungal problems
Overall decline in plant vigor
Most established iris beds benefit from division every three to four years, though some vigorous varieties may need attention more frequently.
Timing Your Division Project
The calendar is your best friend when planning iris division. The optimal window occurs during the plant’s natural dormancy period—approximately one to two months after flowering concludes.
Regional Timing Guide:
Northern Gardens (Zones 3-5): Plan your division project between late July and early September, when summer heat begins to wane but soil remains workable.
Moderate Climates (Zones 6-7): August through mid-September provides the perfect conditions for division and establishment.
Southern Regions (Zones 8-10): Wait until September or October when temperatures cool sufficiently to reduce transplant shock.
Avoid the temptation to divide during spring growth or active blooming periods. Plants divided at these times experience significant stress and may skip blooming the following season.
Essential Tools and Materials
Successful iris division requires minimal but specific equipment:
Digging tool: A sturdy garden fork works better than a spade for lifting intact clumps
Cutting implements: Sharp, clean pruners or a utility knife for separating rhizomes
Safety gear: Thick gloves protect hands from sharp leaf edges
Cleaning supplies: A hose or bucket for washing soil from rhizomes
Optional treatments: Antifungal powder or sulfur for problem-prone gardens
The Division Process: Step by Step
Phase 1: Excavation
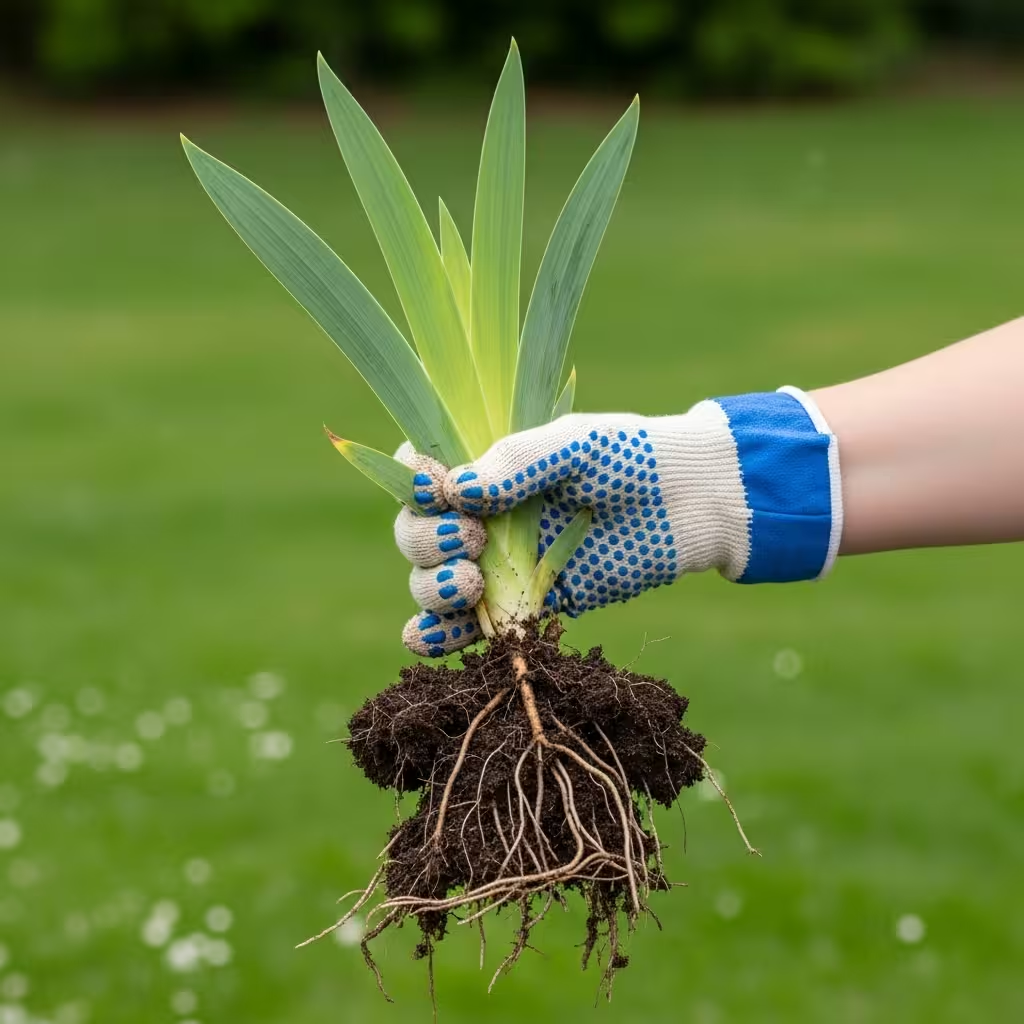
Begin by watering the iris bed thoroughly the day before division. This softens the soil and makes digging easier. When ready to work, use your garden fork to carefully loosen soil around the entire clump, working in a circle about 8 inches from the visible foliage. Dig deep enough to get beneath the rhizome system, then gently lift the entire mass.
Phase 2: Cleaning and Assessment
Remove loose soil by hand or rinse with water until you can clearly see individual rhizomes and their connections. This cleaning step is crucial for identifying healthy divisions and spotting potential problems.
Phase 3: Foliage Management
Cut back the leaves to approximately 6 inches in height, creating a neat fan shape. This dramatic pruning reduces water loss through transpiration and allows the plant to focus energy on root establishment rather than maintaining extensive foliage.
Phase 4: Division
Here’s where the magic happens. Examine the clump to identify natural separation points between rhizomes. Healthy divisions should include:
A firm, plump rhizome section (avoid any that feel soft or show dark spots)
At least one fan of trimmed leaves
Visible root growth or root buds
Use your hands to separate naturally loose sections, or make clean cuts with a sharp knife for stubborn connections. Discard any diseased, damaged, or questionable pieces—they won’t recover and may contaminate healthy divisions.
Phase 5: Preparation for Replanting
Allow cut surfaces to air-dry for 2-3 hours before replanting. This brief curing period helps prevent rot. If your garden has experienced fungal issues, dust cut surfaces with antifungal powder during this waiting period.
Replanting for Success
Choose locations that receive at least six hours of direct sunlight daily. Irises are sun-worshippers and will disappoint in shady conditions. Equally important is drainage—waterlogged soil kills irises faster than drought.
Planting Technique: Create shallow planting holes and build small soil mounds in the center of each. Position rhizomes horizontally on these mounds with roots draped down the sides. Cover roots completely with soil, but leave the top surface of each rhizome slightly exposed. This exposure prevents rot while allowing new growth to emerge easily.
Spacing Strategy: Plant divisions 12-18 inches apart to accommodate future growth. This spacing might look sparse initially, but iris clumps will fill in beautifully within two seasons.
Post-Division Care
Water newly planted divisions lightly but consistently for the first month. The goal is moist (not soggy) soil that encourages root growth without promoting rot. Avoid fertilizing immediately after division—these plants need to focus on root establishment before putting energy into foliage growth.
Maximizing Your Division Success
Creative Placement Options:
Expand existing beds with proper spacing
Create new garden focal points in sunny areas
Fill containers for portable color displays
Share extras with gardening friends (iris divisions make wonderful gifts!)
Long-term Planning: Mark your calendar to evaluate iris beds annually. Even if division isn’t needed, this regular assessment helps you catch problems early and plan future garden improvements.
Troubleshooting Common Concerns
“Will they bloom next year?” Most properly divided irises bloom the season following division, especially if replanted promptly in suitable conditions.
“Some rhizomes look questionable—should I plant them anyway?” When in doubt, discard suspicious divisions. It’s better to have fewer healthy plants than to risk spreading disease.
“Can I divide in spring if I missed the fall window?” While possible, spring division typically results in reduced blooms and increased stress. Plan ahead for optimal results.
The Reward: A Renewed Garden
Iris division might seem like a significant undertaking, but the results justify the effort. Within one season, you’ll notice stronger stems, larger blooms, and overall healthier plants. Within two seasons, your expanded iris collection will create the spectacular display you remember—and likely exceed it.
Remember, gardening is about working with natural cycles rather than fighting them. By dividing your irises at the right time and in the right way, you’re simply helping these resilient perennials do what they do best: multiply, thrive, and create breathtaking displays year after year.